Recent Articles
-
Christmas Sword Buying Guide 2025
Dec 03, 25 10:53 PM


Sword Engraving
There are various ways to engrave the blade of a sword, some more refined than others. A dremel and a steady hand can achieve good results, but for truly professional looking engravings - the best way to do it is electro-chemically.. While this sounds intimidating - its actually not as hard as it may seem - as Jonathan proves with an easy to follow step by step tutorial below.
'Poor Mans' Electro-chemical sword engraving Tutorial
Ok, well after some initial concern this method wouldn't give me nearly as spectacular results as I had heard, and some helpful input from fellow forum members, I finally seem to have a method that works quite well. So, here's my shot at a step by step guide to poor mans electro-chemical etching. I'm pretty sure there are much better ways to do it, but the point is that this method works, and surprisingly well.
EQUIPMENT NEEDED
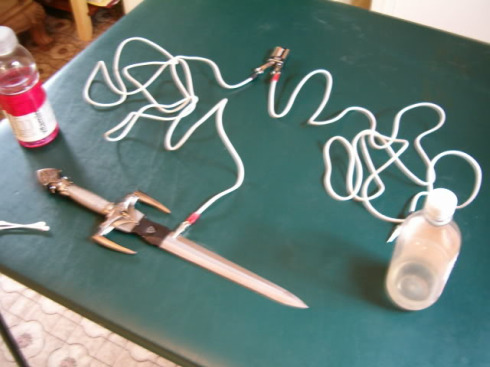
Here we have the basic equipment I used for this example:
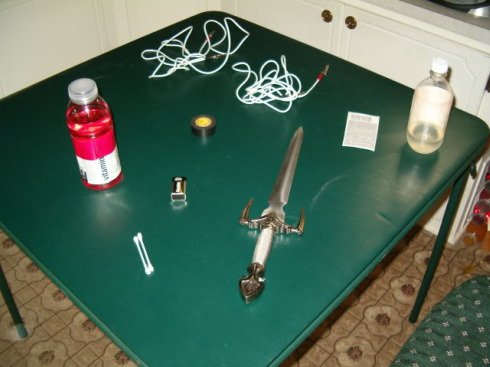
A 9v battery.
A pair of alligator clips.
Q-tips.
A roll of electrical tape.
My bottle of salt water. (tap water with about 5-7.5% table salt)
Sheet of custom vinyl stencils.
A healthy drink (I was thirsty).
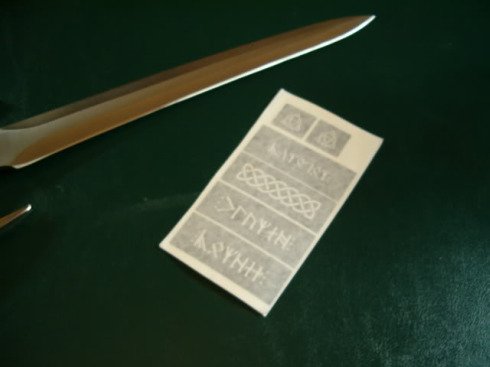
This is the only part of the process that requires some special preparation. I took some designs to a local print shop, and told them I needed vinyl stencils made out of them. They worked with me quite well and I had the finished product by the end of the day. So this is what I got, black vinyl stencils sandwiched between a backing and a piece of tape that holds everything together (as some of the stencils have multiple parts).
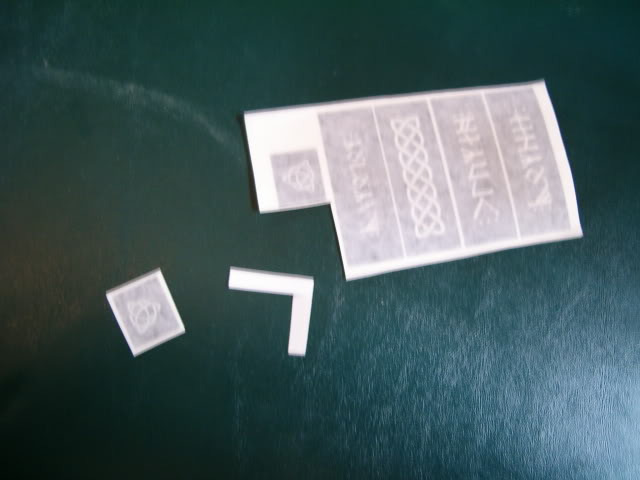
Start by cutting out the stencil you intend to use, and removing the backing.
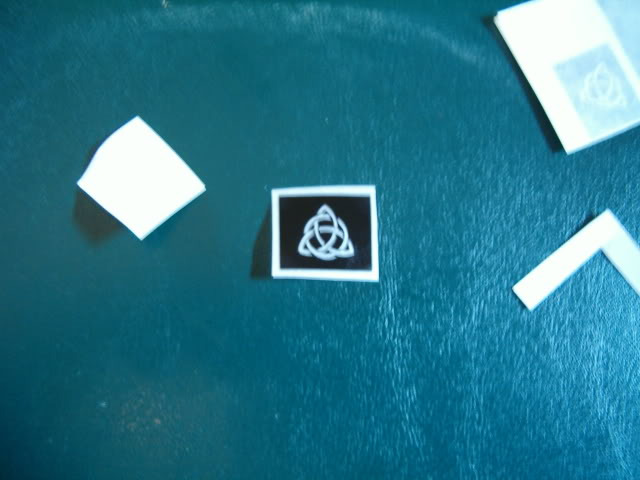
You are left with the stencil and the placement tape. This is the adhesive side, which we will press down onto our blade.
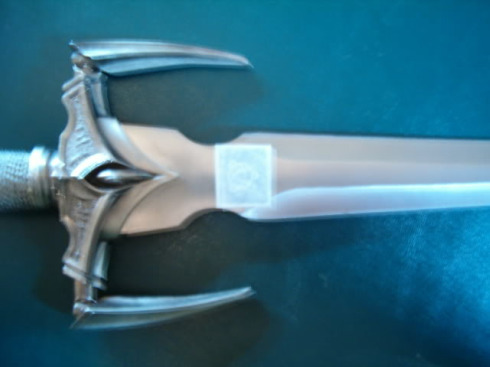
Make sure the surface is nice and clean (and dry). Apply it with some pressure and rubbing.
Peel the tape off carefully and you're about ready to etch. Keep in mind that if any of the salt water seeps off the stencil while current is going, it can and will eat into the metal in places you don't want it too.
So, we expand our work area with some electrical tape.
It will resist just like the vinyl stencil, so it will protect metal you don't want to get accidently etched.
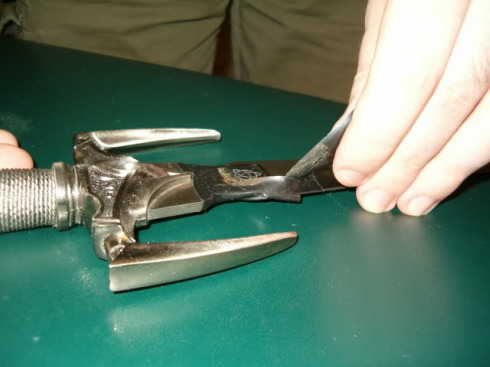
Now for the electrical work. Run a cable from the positive terminal on the battery to the blade, and hook up another to the negative terminal.
Get a q-tip nice and wet in the salt water. It doesn't have to be dripping wet, but "just moist" doesn't seem to do the trick well either.
Clip the cable from the negative terminal to the wet head of the q-tip like this. This is effectively our etching tool.
Now, apply the q-tip to the stencil. Usually you need to use a bit of pressure to get it going, you'll know it's working by a dull hissing noise, and wisps of smoke (I believe it's ozone).
I like rocking it back and forth, seems some amount of motion results in quicker etching and imparts more darkness to the metal.
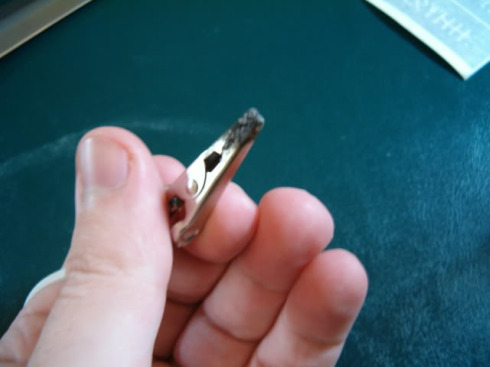
You'll know when it's time to switch to a new q-tip (or just use the other head), as it will look like this.
That gunk is the metal you are removing.
If you reverse the polarity (negative to blade, positive to q-tip) you plate instead of etch. And where does the metal come from that gets plated onto your blade? Apparently from one of the alligator clips.
I accidently found this out when I did my first tests last month. A good deal of the outer plating on this clip got eaten away before I noticed what was happening.
Every time I switch to a new q-tip, I like to gently wipe the stencil with a paper towel to remove the excess gunk.

After two q-tips, my intuition told me this etch was done. So, off with the electrical tape.
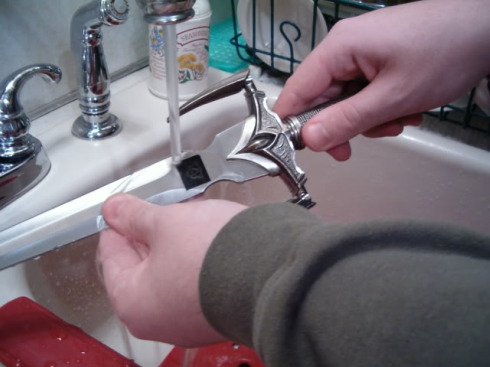
And run a little warm water over the stencil. Apparently this not only cleans your work area and helps loosen the stencil, but I heard it helps set the oxidization that makes the etch darker.
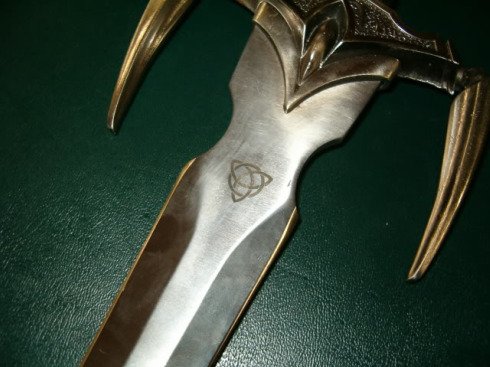
Now it's time for the stencil to come off.
The discoloration hints to me that it's deep enough, which you need to be pretty sure of since you can't just put the stencil back on.

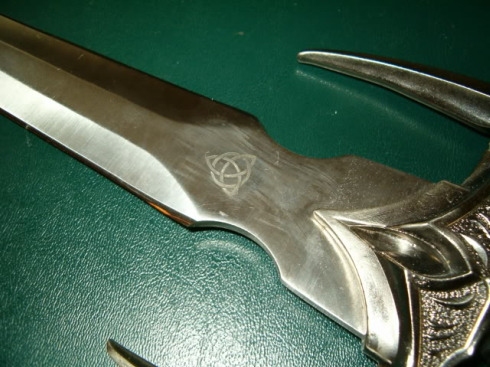
Generally the outer part of the stencil comes off easily. The inner parts are not as cooperative.
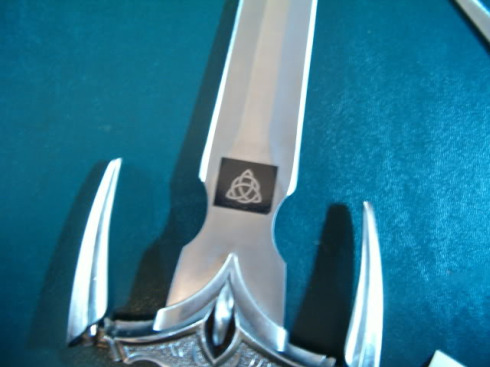
All of the tiny pieces stayed on, but we can see already that we got a definite etch into the steel. So, just peel the remaining vinyl off piece by piece.
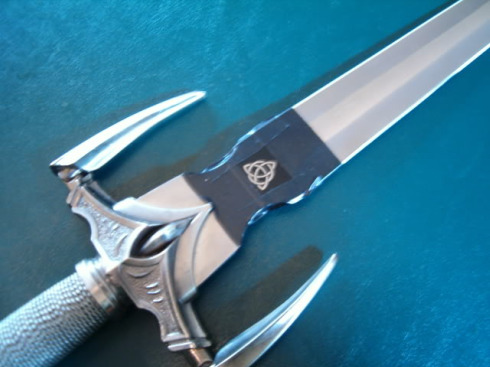
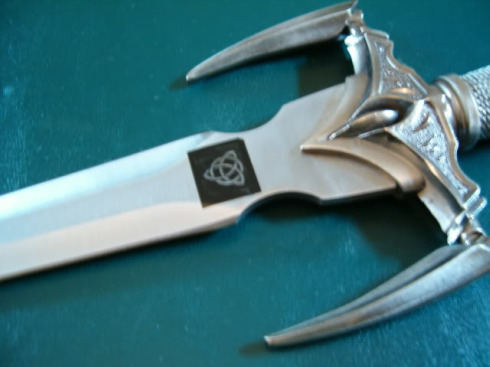
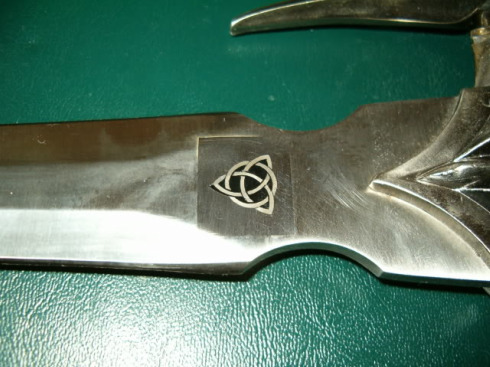
And the finished product.
This isn't as deep as some of my other tests, but I only used two q-tips on this one instead of my usual 3-4. Still, it came out quite nicely and the actual work (had I not been taking pictures) would have totaled to about four minutes.
Well, I hope this helps anyone who's interested in customizing their sword. Engraving isn't cheap and it's hard to find someone who will do it on a large sword. Acid etching is dangerous and tricky to do, especially if you have a sword that doesn't come apart easily. But this method is trivial at best, as long as you get the basics down.
-Jonathan
I hope this tutorial on sword engraving has been helpful. To return to Free Sword Customization Tutorials from Sword Engraving, click here
Buying Swords Online Can Be DANGEROUS!
Find the Best Swords in the:

Popular & Recommended ARTICLES


The ONLY true free online magazine for sword enthusiasts. Delivered once a month on the 1st day of the month, no filler and no BS, just the latest sword news & info delivered straight to your inbox.
VISIT OUR SPONSORS:


