Recent Articles
-
Christmas Sword Buying Guide 2025
Dec 03, 25 10:53 PM


Wrapping your own tsuka ito
Tsukamaki (handle wrapping) is something that anyone can try their hand at.
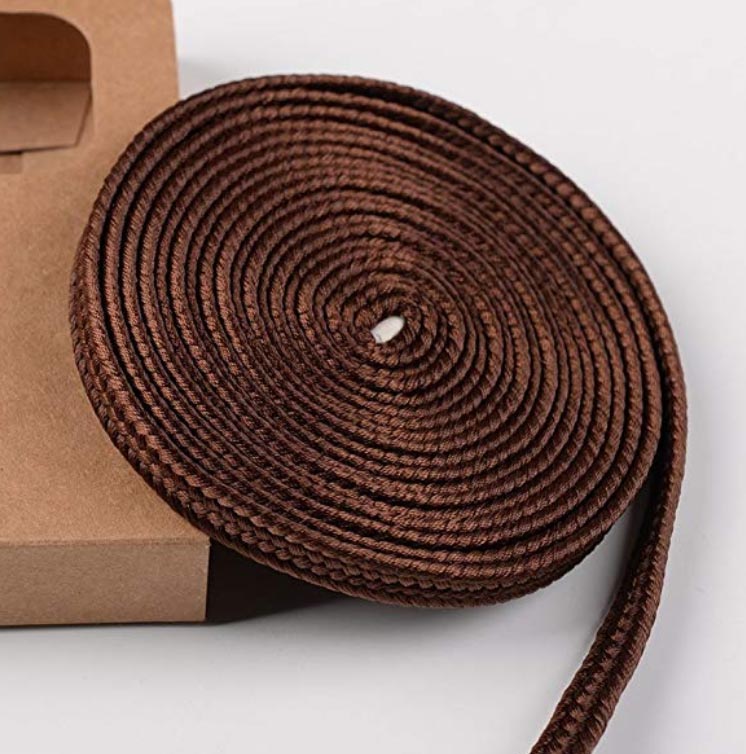
All you need is some ito cord (around $9 for 157"), a little manual dexterity, patience and of course - instructions on how to do it.
While we can't do much to help with the manual dexterity or patience - here are some instructions on how to wrap your own tsuka. It may not be the most traditional method in the world, but it works.
Introductory Video
The method shown above is much faster than what we will be doing below, but it is not as tight nor as nice looking as when it is done using hishigami. But at least it should give you a quick overview of the basic process.
TSUKAMAKI FOR BEGINNERS
Tutorial by SBG member Ichiban
Here's a small tutorial of how to do tsukamaki with traditional hishigame. This is my method, and I'm not saying I'm doing everything right or the easiest way.
As I did my first tsukamaki nine months ago, I still have a lot more to learn. But if it can be of any help, I'll present my way of tsukamaki here. Since I'm working on production swords and not nihonto, I see no reason why some shortcuts couldn't be taken. The goal is looks and function, not necessarily historical correctness. I use double sided tape on the ha and mune side to secure the ito, it will also save a lot of time repositioning clamps and cursing and swearing for not having three hands.
If the tape is strong enough, it will actually hold the ito in place without clamps, just put the tsuka down and take a coffe break. From the time used by others, I assume it will save at least a good hour as I do an OK 10' hinerimaki in about three hours + 30 mins to fold the hishigame. I also use superglue when needed, but lately I've only used it sparingly on the last knot.
My small tutorial is just ment to fill in where the info is sparse in this tutorial and to get the knots in pics.
Proper tsukamaki can't be done without hishigame. Hishigame has many functions; it holds the ito in place, it lifts the ito towards the turns and makes it even, it tightens the whole construction.
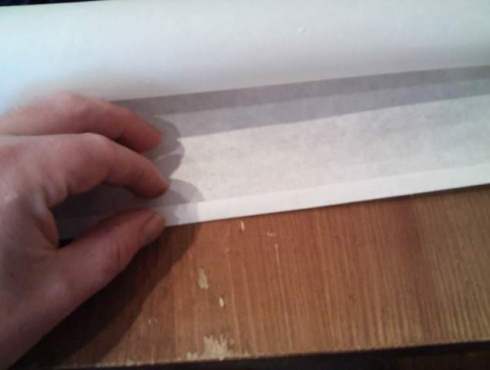
I make my hishigame of socalled rice paper, but modern rice paper is often made of fibers of honoki or magnolia.
I cut a strip and fold the whole paper width in the proper expected height of the hishigame. The height of the hishigame is decided by the tsuka width and preparations of the tsuka. In the following pics the hishigame is about 12 mm high and 14 mm wide.
First fold the rice paper, I prefer about 10 times for this thin paper.
The strip is cut into squares which is being folded over and smoothed to shape with the mekuginuki.
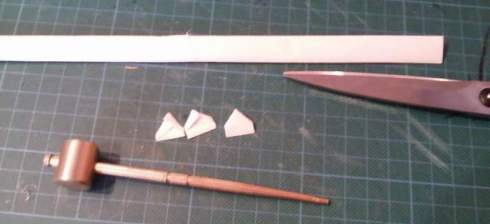
I've made a template for standard silk ito widt of 8mm. This is the widt of contracted silk and cotton ito. This way I can control where the twists will end, and control the progress along the way. If you count the turns and multiply by four, you know how many hishigame to make (add 5-10 for spare hishigame) For this tsuka I made about 70 hishigame.
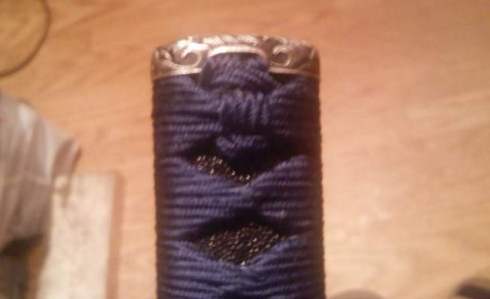
This is how I make the turnings, I angle the ito downwards before I make the final twist. This will make a crisp turning and it's easier to control if it's centered. it takes some practice to make even diamonds and placing the ito correctly. Use your thumb to wiggle the turnings when tightening, it will settle the ito on the turning.
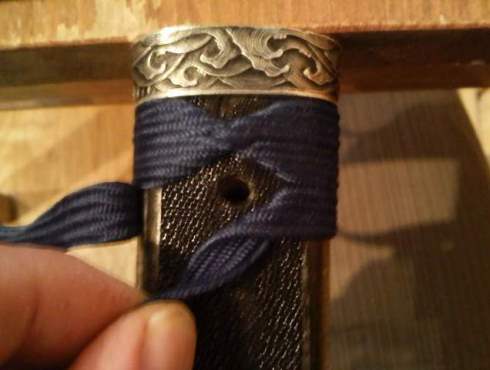
Here the first turning is made on the ura side and the hishigame being placed. I use tweezers to place them under the ito, just wiggle them in. If the hishigame curls, I throw it away and take a new. If it curls under the ito it will show through.

Both hishigame placed, ready for the second ito crossover.
Should look like this:
Give the crossover a few light whacks to flatten the ito with the mekuginuki.
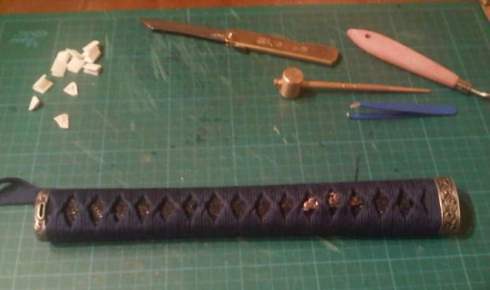
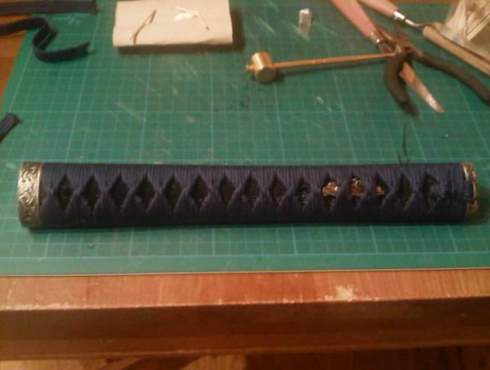
Keep going, and after a couple of hours or more it should look like this on the omote side:
And ura side:
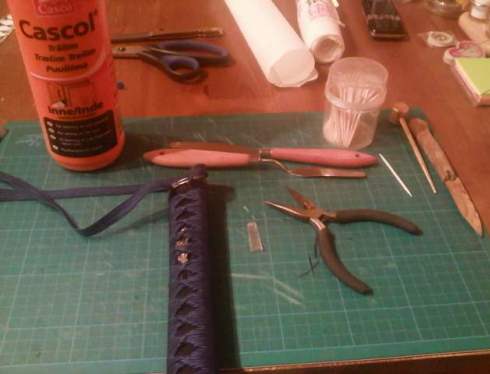
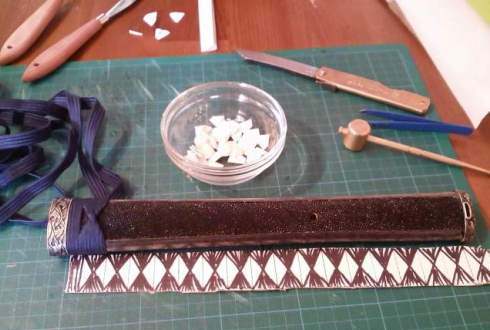
Here you also see a few tools I use to make the knots. Two painters knifes to slip under the ito, they're very thin. The mekuginuki to straighten and hold the ito when pulling. Wood glue and toothpicks for securing the last knot. And most important; a small triple folded plastic strip to pass the ends under the ito. For pulling the plastic strip I also use a small pliers.
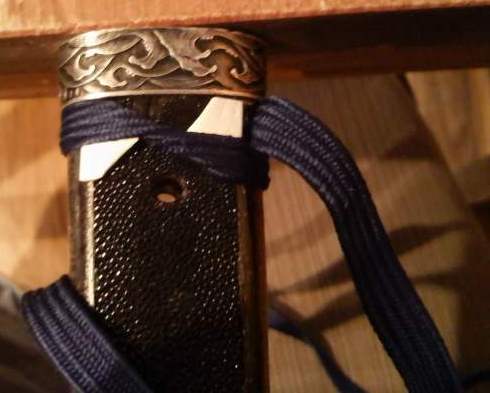
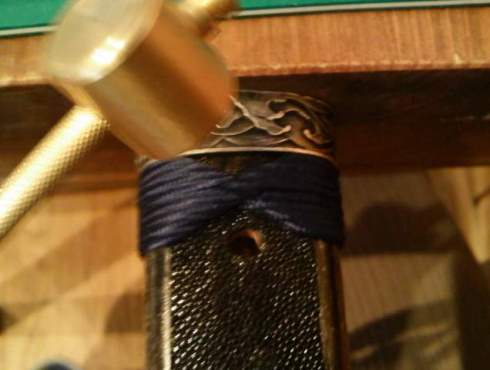
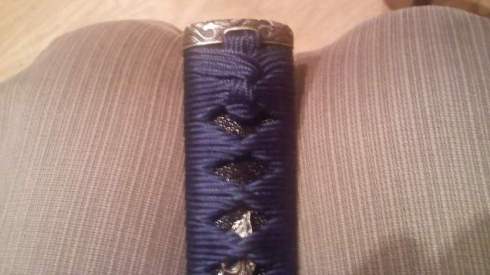
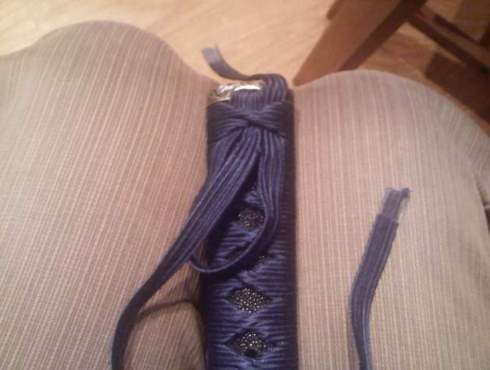
Ready to make the knots! First pass the end from the mune side under the last turning.
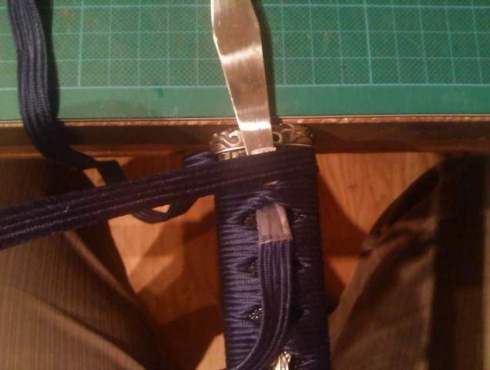

Then the ito from the ha side goes over the mune side and under the turning. Here you see how I use the plastic strip and the painters knife to pass it under.
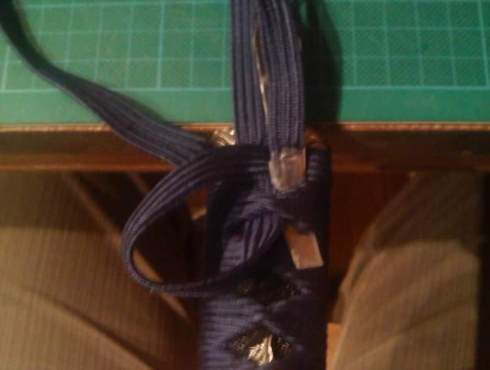
Pull the ends carefully, and it should look like this:
Done correctly there will be a loop on the ha end. Pull and tuck it using the mekuginuki. Pass the ends through the kashira hole.
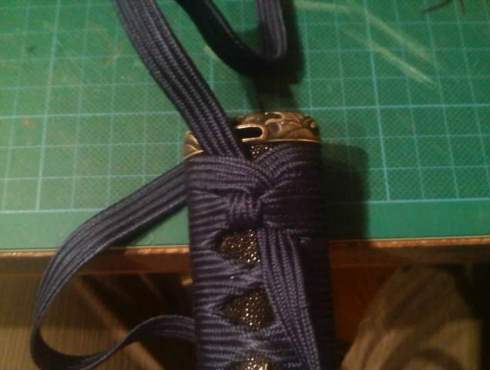
Finished ura side knot:
And the omote will look like this once threaded:
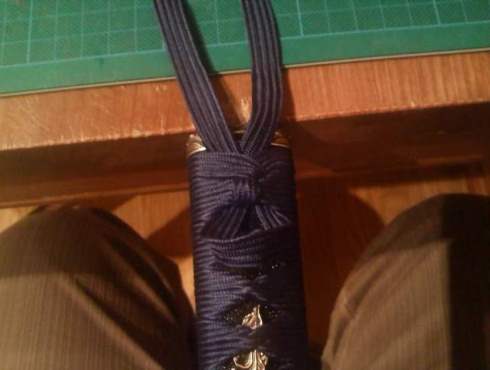
Finished knot (I admit not my best one as I trimmed the ends 5 mm short):
Tighten the knots with care a little at a time. They can be pulled very tight, but try to move the last turnings as little as possible.
For further study of what the knots should look like and how it's threaded through the kashira you'll have to study close ups of nihonto. The ito should basically not visibly overlap.
Finished ura side:
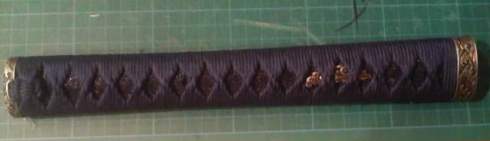
Finished omote side:
RESOURCES
You can pick up an 157" spool of ito wrap in a wide assortment of materials (leather, cotton, silk, etc) for around $9 or so here at Amazon.com
I hope this tsukamaki tutorial has been helpful. To return to Free Sword Customization Tutorials from Wrapping Your Own Tsuka Ito: Tsukamaki for Beginners, click here
Buying Swords Online Can Be DANGEROUS!
Find the Best Swords in the:

Popular & Recommended ARTICLES


The ONLY true free online magazine for sword enthusiasts. Delivered once a month on the 1st day of the month, no filler and no BS, just the latest sword news & info delivered straight to your inbox.
VISIT OUR SPONSORS:


