Recent Articles
-
Christmas Sword Buying Guide 2025
Dec 03, 25 10:53 PM


Katana Engraving the Easy Way
Usually Katana engraving is either something you pay someone else a premium to do (if they do it at all), is something that requires some considerable artistic ability and experience with a hand held engraver, or a CNC machine at home to get results like this..
 Katana Engraving with a CNC Machine
Well, while we will be showing you a very easy substitute technique to get good results similar to traditional engraving methods, we can't work miracles.. But this technique we will show you is the next best thing..
The technique was used and explained here by SBG member Jason Blakey who did the CNC work you can see above as part of a project to make a totally accurate replica of the Kill Bill Brides Sword for Adam Savage from Mythbusters..
So without any further ado, over to Jason to show you how its done..
Katana Engraving - an easy substitute technique you can do at home
I've been playing around with some electro-plating / electro-etching lately, and although my plating has been less than awesome in some cases, I'm currently very pleased with my etching results.
I had previously read this article on SBG and it got me interested in tying some etches. Unfortunately, I could
not find a print shop that would run off my very detailed, very small
batch of stencils for me.
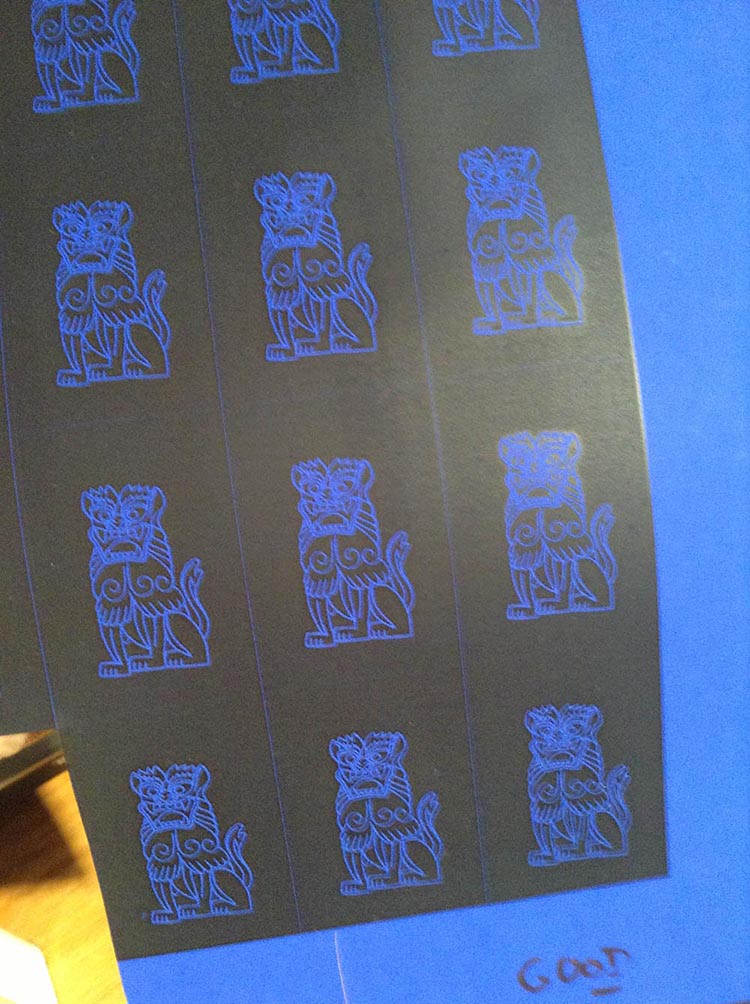
Finally, after poking around quite a while, I came across this PDF where-in the guy uses Press-n-Peel blue PCB transfer film + laser
printer to make his own stencils. He then uses a hot-plate + clothes
iron to transfer the stencil to his blade.
Anyhow, finally borrowed a hot plate from my father-in-law (one of these) and gave it a try. Success on the transfer! I had previously tried
with just an iron, but the metal would heat-sink the heat away
immediately (duh!).
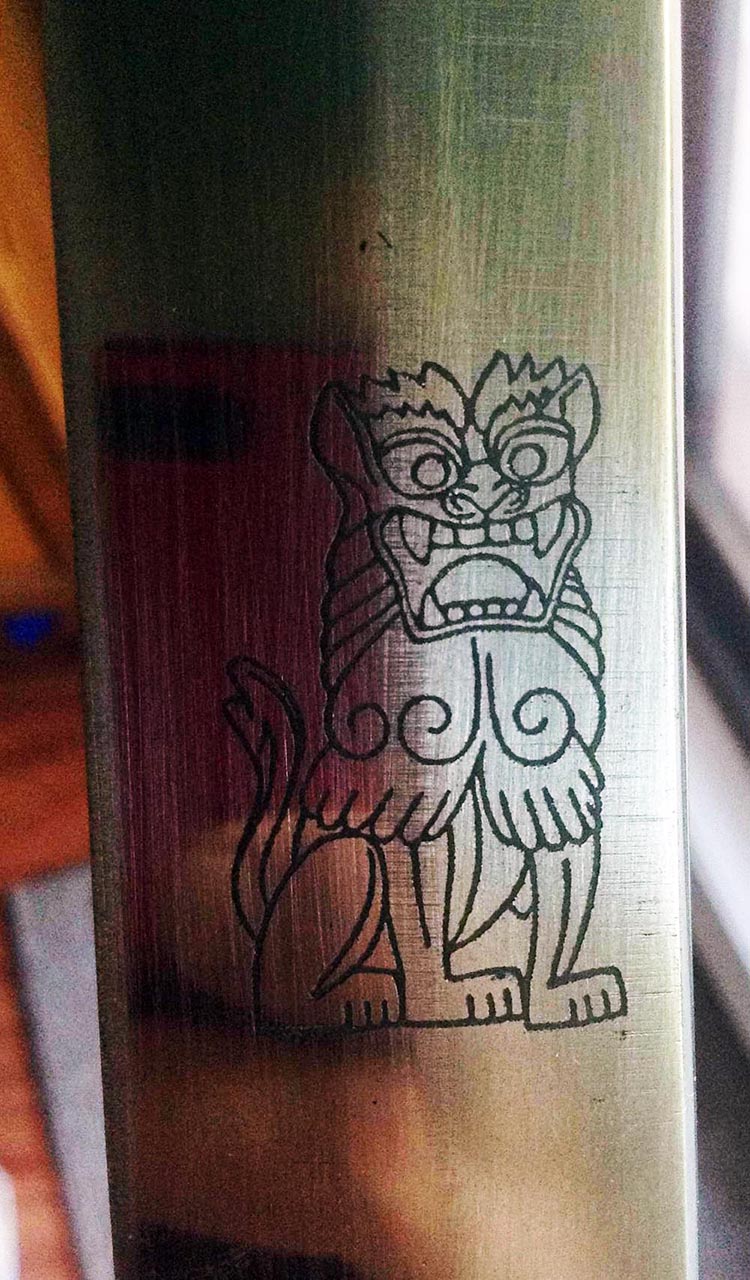
I'm pretty happy with this test run.
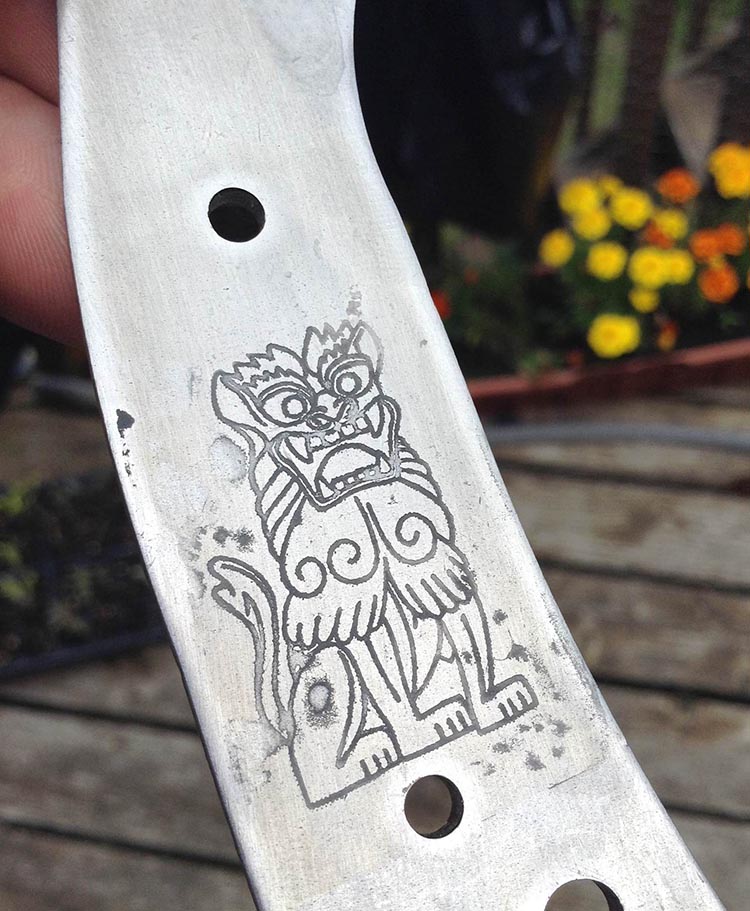
The
resolution of the transfer is great. There were a few flaws, and I've
learned that Sharpie Pen ink does not work well for touching them up.
I'll try regular Sharpie next test.
Acetone works like magic to remove the transfer film, btw.
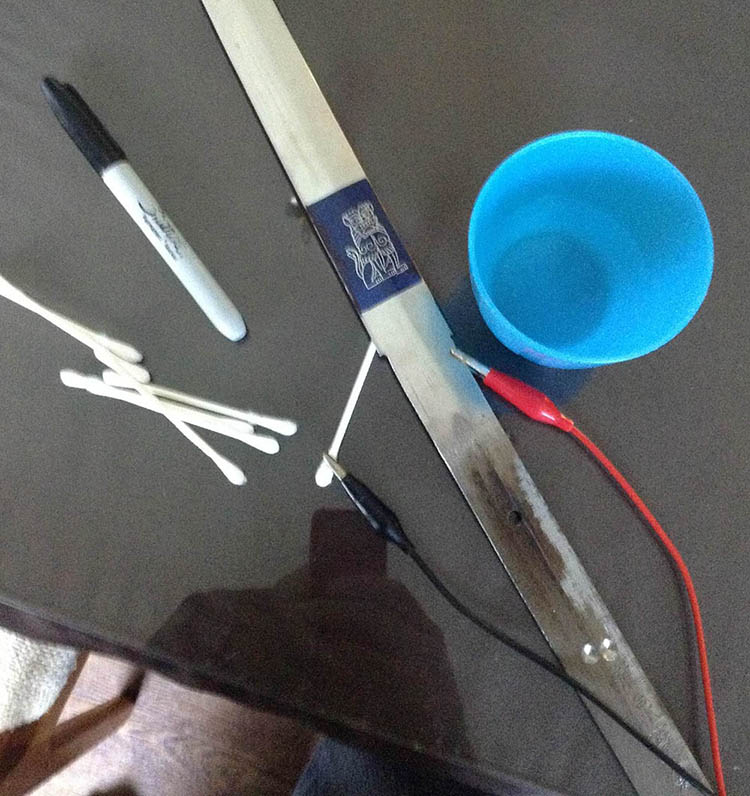
Oh,
and I used my crappy .8 amps power supply at 9v. Positive (anode)
clipped to the knife, cathode clipped to the Q-Tips. Used some salt in
water as the etchant.
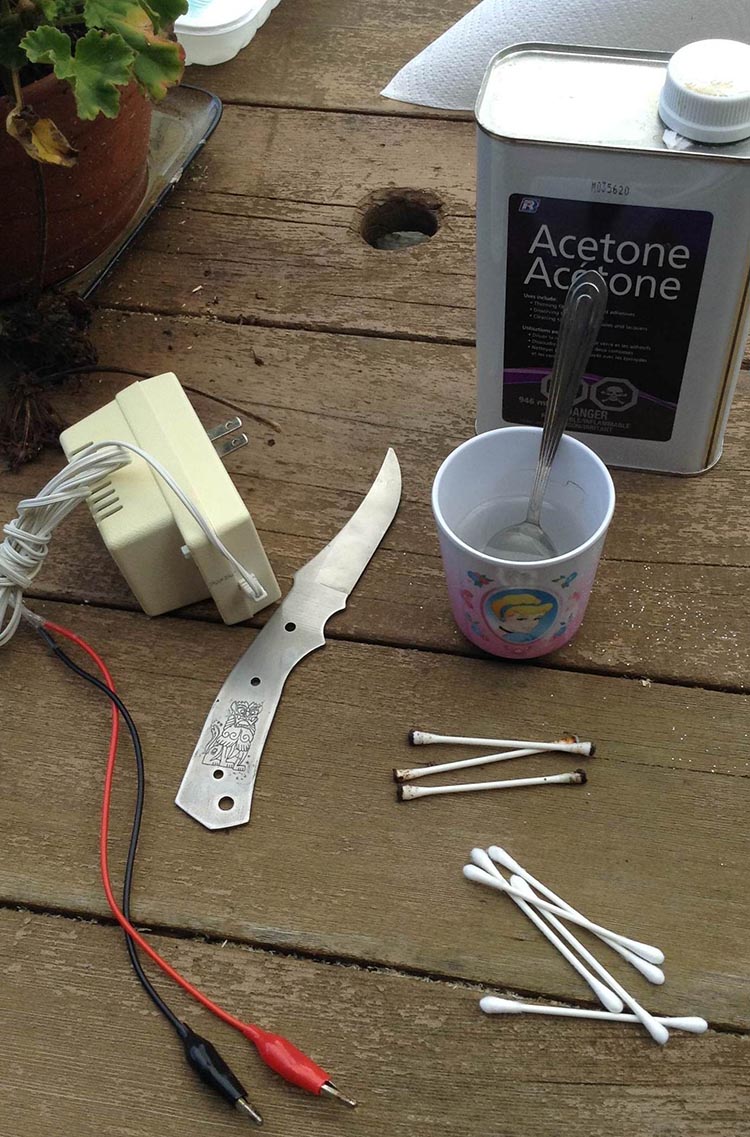
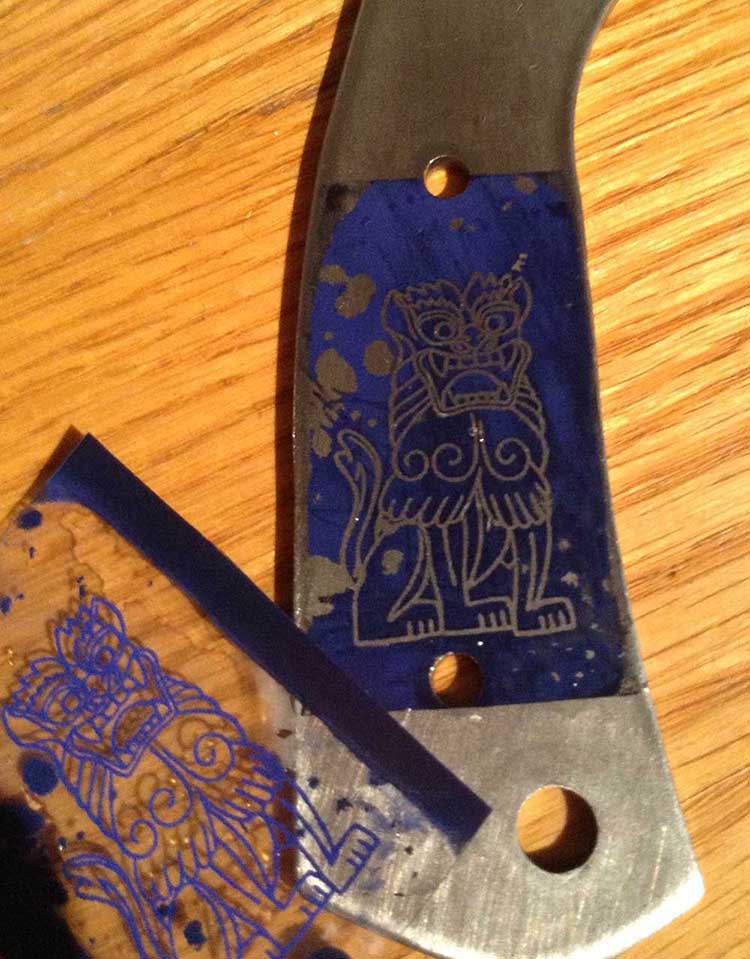
Image editing tool I used in Windows was IrFanView. It's free, and does all the re-sizing / inverting / flipping that I needed to do.
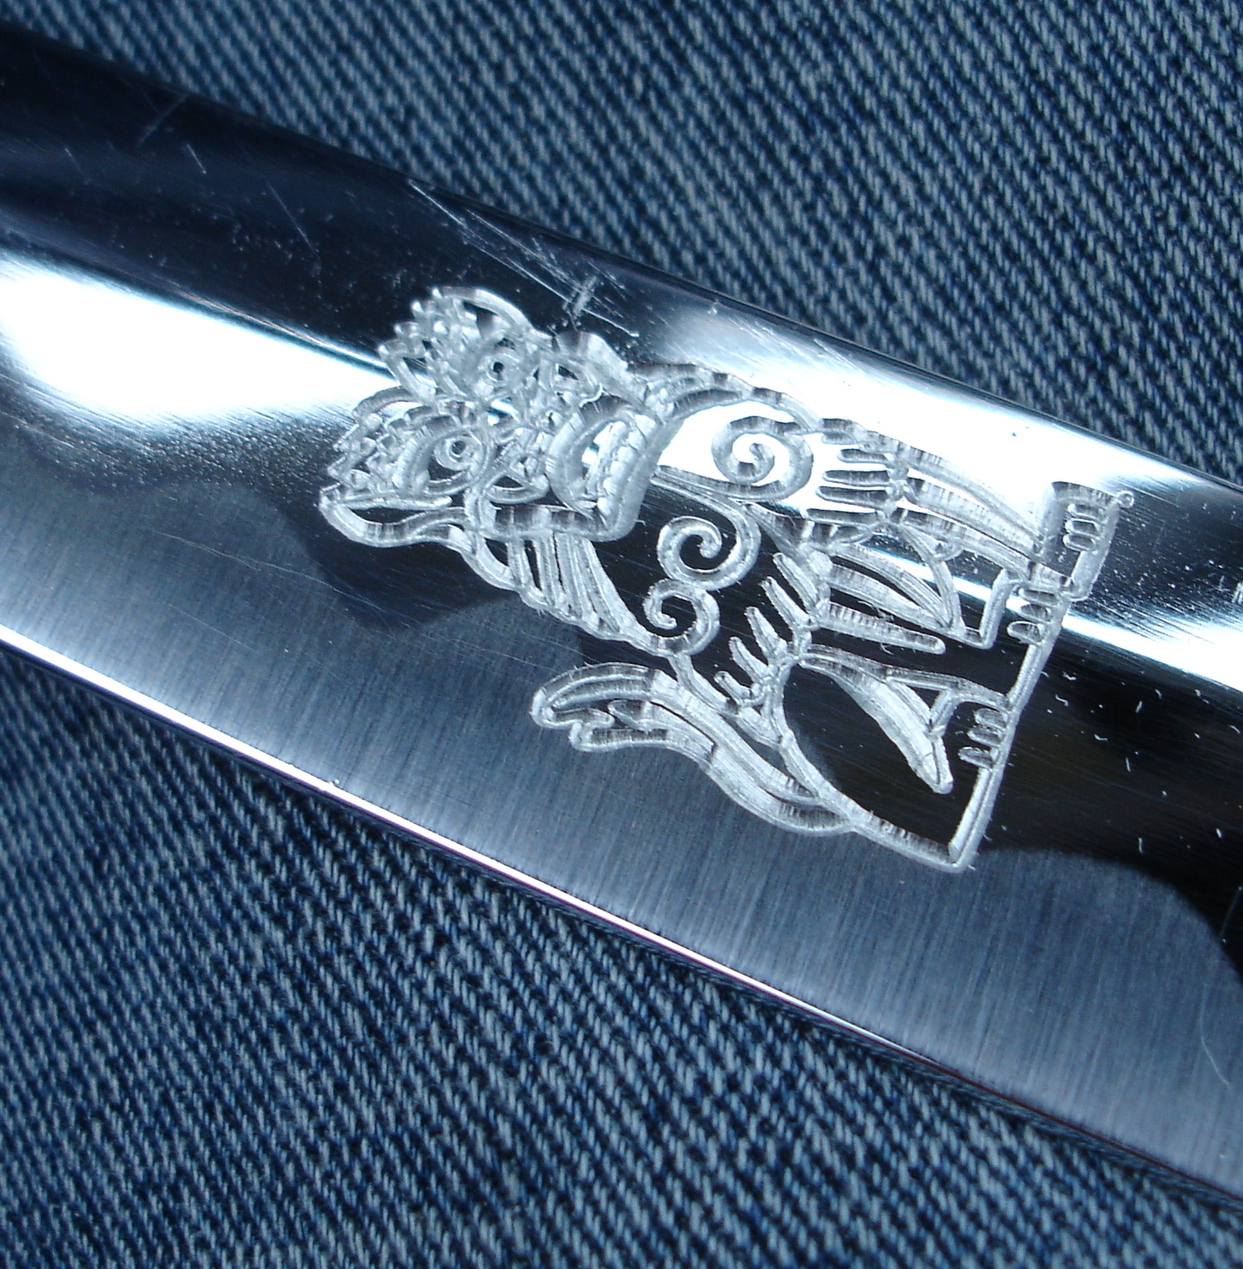
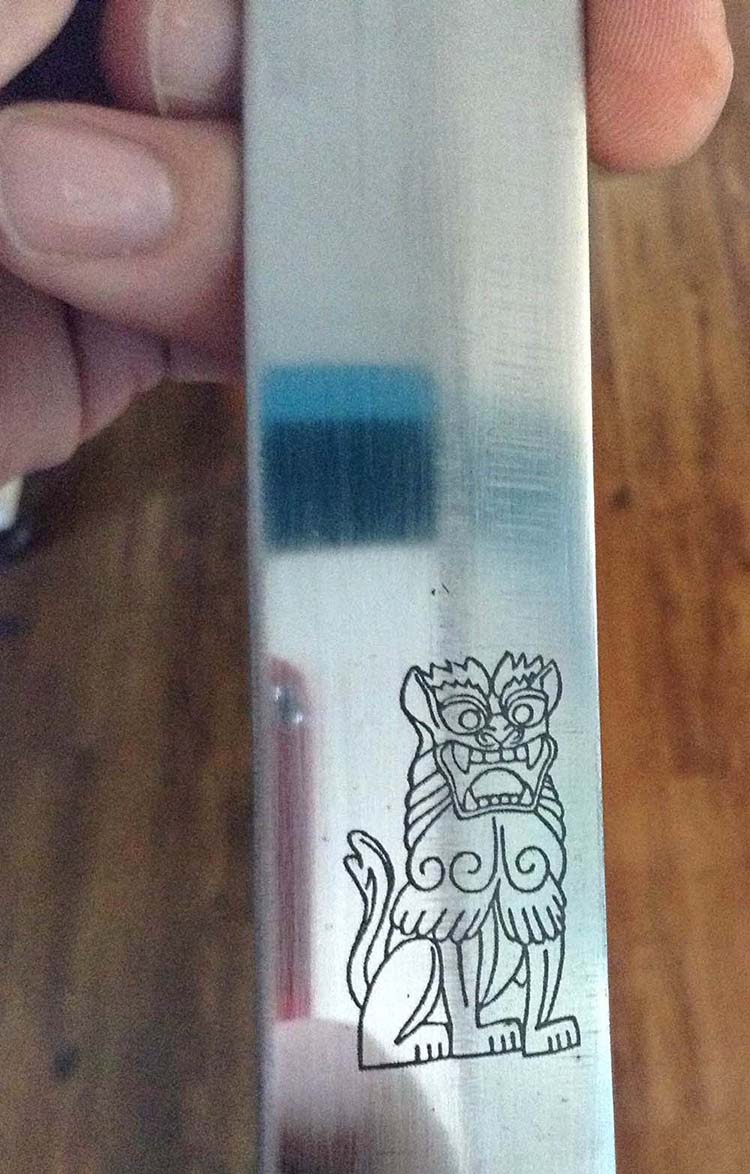
Ran a test this week-end on an old 1060 through-hardened blade, and
it worked great! I cannot believe the resolution of this process -
every line is there (and some, like the nose detailing, are quite tiny).
Used about 6 Q-tips this time, both ends, replacing them when the tips
got quite blackened. Transfer worked very well. I was a little
worried if the mask would work with the ridge of the blade, but it
worked fine.
Very happy with this process. Next up, I'm going to "brand" a first-gen Hanwei Practical Ninja-to blade I've got laying around.
Thanks,
jason
I hope this article on Katana engraving substitute techniques has been helped and given you some ideas. To return to Free Sword Customization Tutorials from Katana engraving the easy way, click here
Buying Swords Online Can Be DANGEROUS!
Find the Best Swords in the:

Popular & Recommended ARTICLES


The ONLY true free online magazine for sword enthusiasts. Delivered once a month on the 1st day of the month, no filler and no BS, just the latest sword news & info delivered straight to your inbox.
VISIT OUR SPONSORS:


