Recent Articles
-
Christmas Sword Buying Guide 2025
Dec 03, 25 10:53 PM


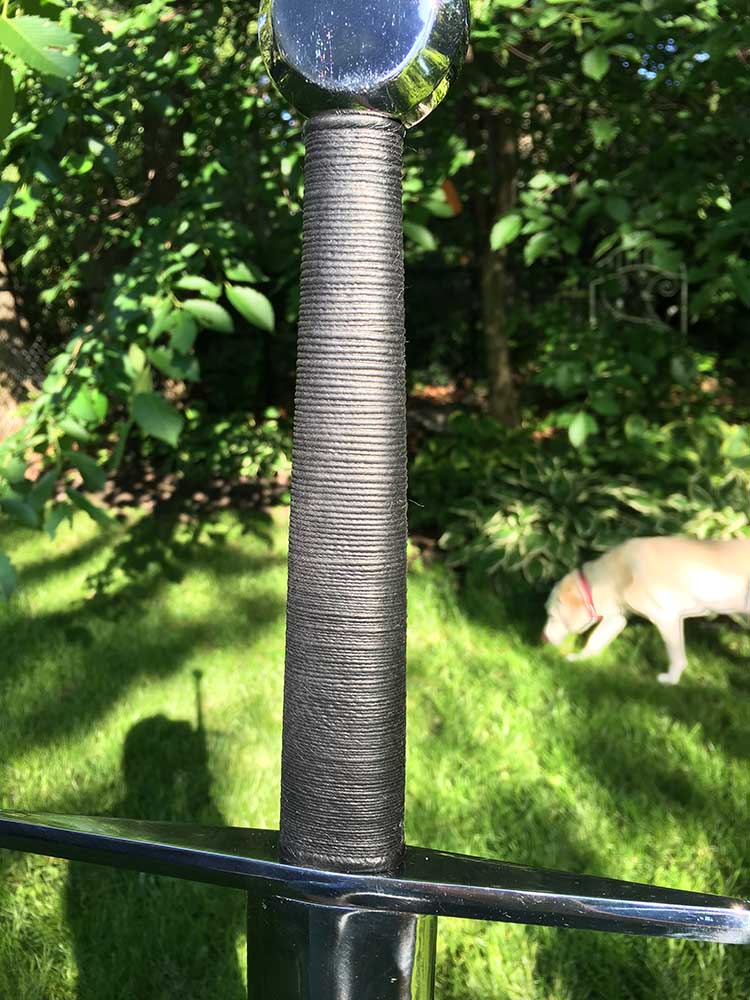
Leather Handle Wrapping Techniques - the Cord Finish
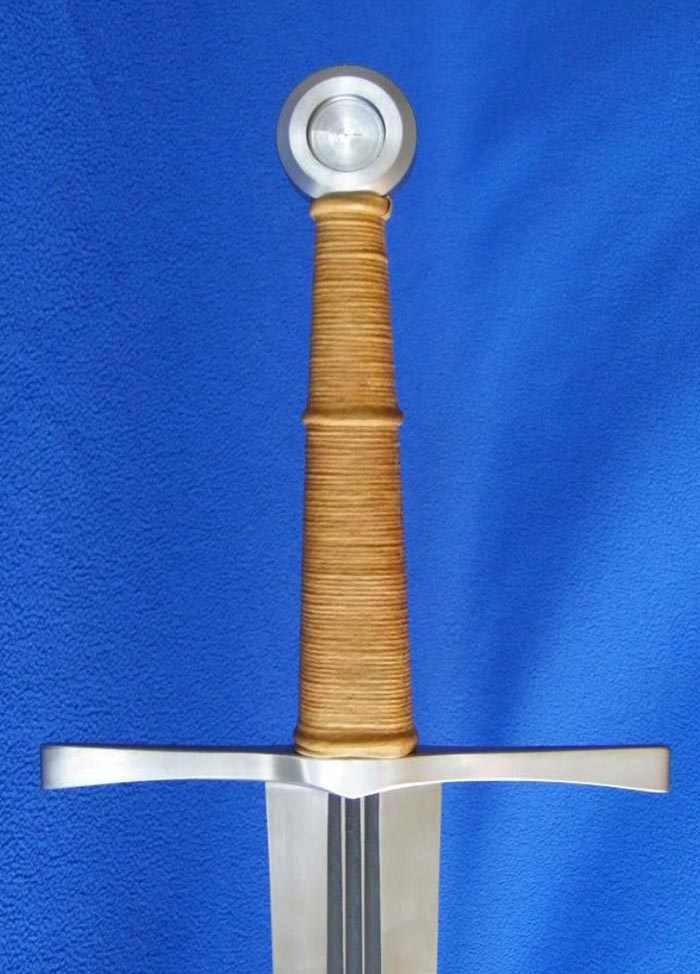
This tutorial is a guide to leather handle wrapping techniques to get that high end 'cord wrap' style finish that adds a more comfortable and secure grip while giving it that stylish look that so many people like on their medieval swords.
Here we will look at two methods to achieve this result which can be applied to a pre-purchased handle that comes with most production swords or a DIY handle that you have made yourself using the leather handle wrapping techniques explained here to make one from scratch.
METHOD ONE
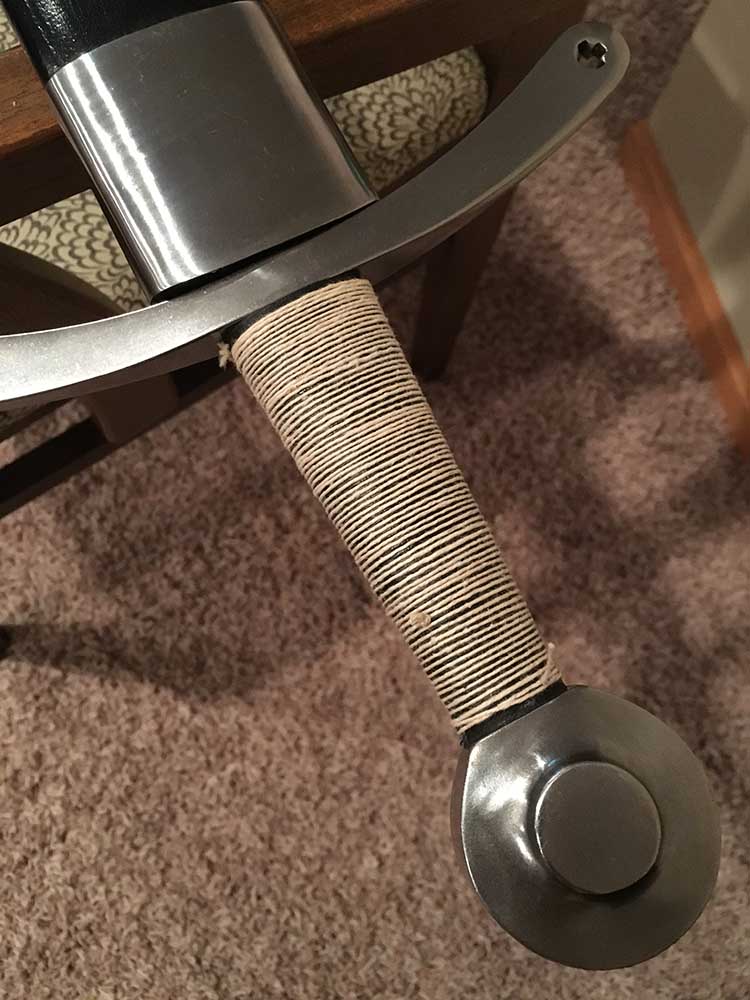
The first of two leather handle wrapping techniques to get that stylish and comfortable finish is to actually wrap cord OVER the handle. Not only is this more comfortable and secure in the hand than smooth leather, but it can also be used to cover unsightly stitching on low priced swords or tighten a loose or damaged leather cover.
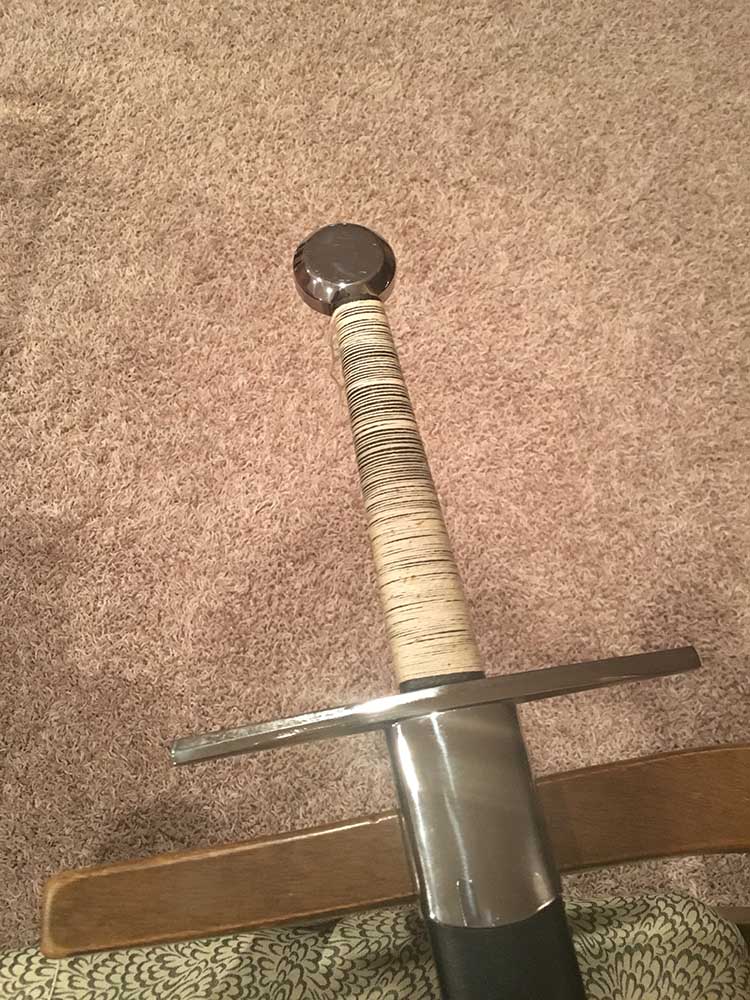
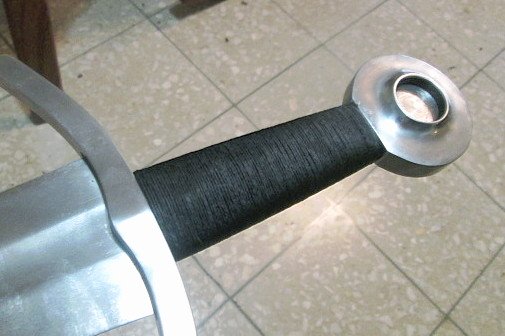 A sword customized using method one by SBG member pgandy
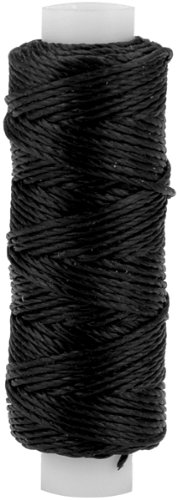
In this case, pgandy used Tandy's black thread actually designed for stitching leather that you can pick up online at amazon for under $10 for 25 yards in either black or brown.
Start with a simple slip knot and keeping it nice and tight as you go, slowly continue to wrap it around the handle as strongly as you can (don't worry, this stuff has a 35lb breaking point, so its not going to snap in your hand). The tie off should be completed with the same thread as one long continuous piece and is achieved by using a second separate piece of thread to pull the end through.
The knot is known as a sailor’s whipping knot, or simply whipping knot, of which there are many variations. Here is a link that gives several methods. www.ropeworks.biz/reader/whipping.pdf
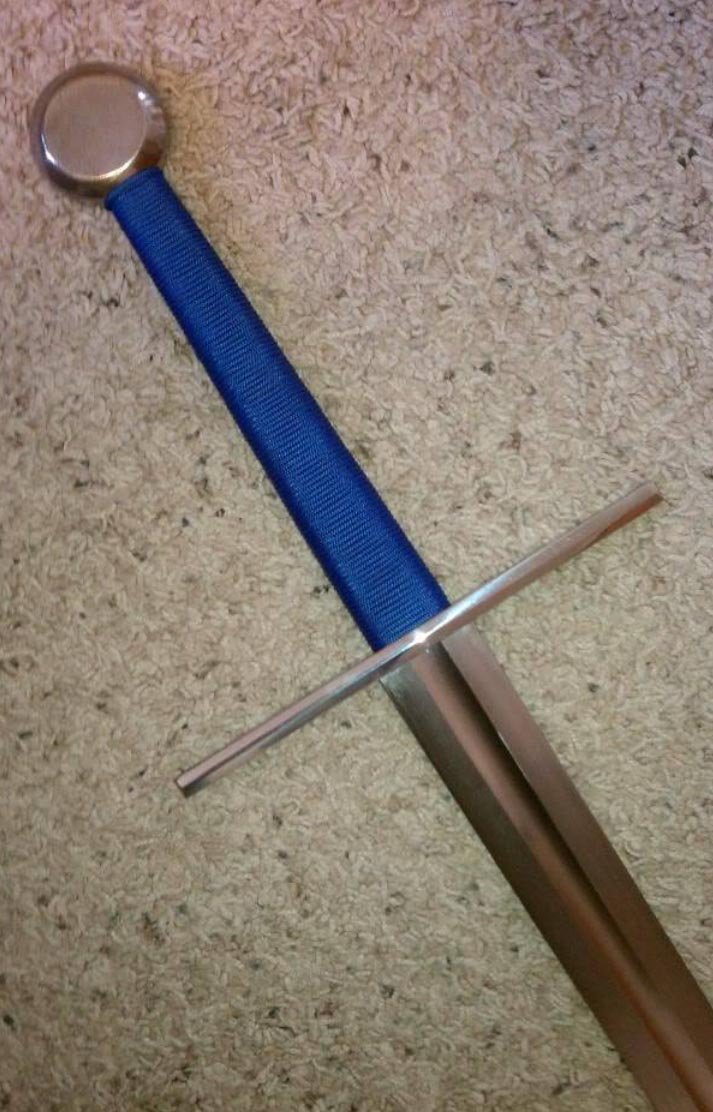
In addition to thread, you can also get good results using paracord using the same technique. Here is an example of what I mean.
METHOD TWO
Method two is actually the easier of the two leather handle wrapping techniques to achieve, but unlike method one it is permanent and has a small chance of actually damaging the handle if the process is not followed correctly.
To do it, again you will need some cord, a small sponge, towel, some gloves (to prevent your hands from getting too hurt from the cord), a glass of water - and, umm - a handle..!

The goal here is to simply IMPRINT the leather with a cord texture, and so the cord used does not really matter as long as it is strong enough to wrap and bind it to the handle and will be discarded at the end of the process. Wax coated cord that is used in method one will not be very useful for the second of these leather handle wrapping techniques.
The basic method is really quite simple - as before, wrap the handle with cord as tightly as you can the whole way around the surface that you wish to texture. If the handle has risers, you simply do two or more bindings to leave the riser in its original condition.
While it does not really matter what kind of knot you use to tie it off
with, the key is to ensure that it is as tightly wrapped as possible,
squeezing down on the leather.
Once firmly 'mummified' use a sponge paint brush soaked in plain water and dab the entire surface of the cord until the handle is not quite dripping wet but close - then leave it to soak in to the surface of the leather for around an hour.
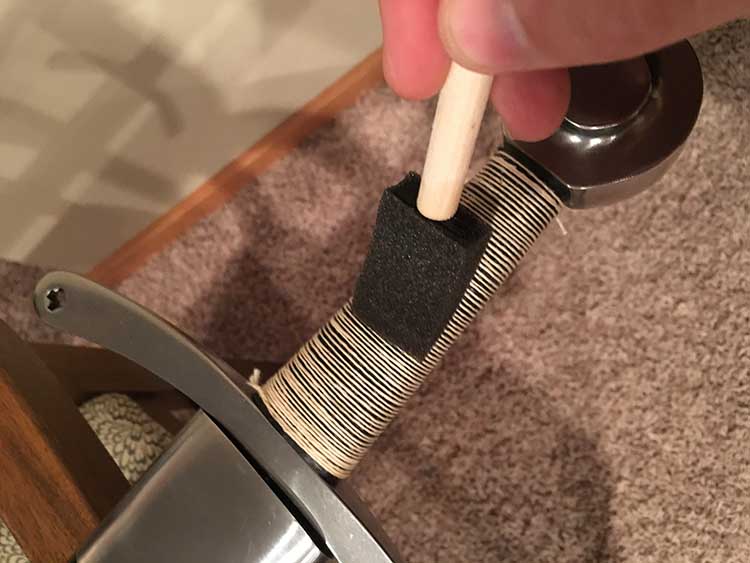
After the first coating of water has been applied, repeat the process a second time, again not dripping but applied evenly to all sides and leave it on for approx 24 hours - then simply remove the cord and viola, it should have a nice new textured finish..!
An alternative method to achieve the same result is to FIRST apply water to the leather with a wet/soggy paper towel to provide an even distribution of water and let it soak for about 10-15 mins. It can be hard to
gauge how long you'll need to soak the grip. Dealing with the tanned
side, as opposed to the rough side, of leather can make absorption
difficult.
Since we are already
dealing with water, leather, glue and a wooden core, over-soaking can be
an issue. If the water soaks to deeply into the wooden core, then bad
things can start happening like warping or cracking. As such just
10-15 mins of paper towel soaking works just fine.
A great way to
test the leather to see if it's soaked through, is to take your
fingernail, and gently make a mark in the leather. It's best to try and
make the mark in the same direction that you'll be binding. If the
leather keeps the mark, even after you brush the water away, then it's
ready to bind.
After binding it tightly, you can sprinkle it with extra water and then leave it overnight for around 24 hours - take of the wrap and see how it turned out.
Have fun!
I hope this tutorial on adding the finishing touches to a leather handle wrap has been helpful. To return to Free Sword Customization Tutorials from Leather Handle Wrapping Techniques - the Cord Wrap, click here

Buying Swords Online Can Be DANGEROUS!
Find the Best Swords in the:

Popular & Recommended ARTICLES


The ONLY true free online magazine for sword enthusiasts. Delivered once a month on the 1st day of the month, no filler and no BS, just the latest sword news & info delivered straight to your inbox.
VISIT OUR SPONSORS:


