Recent Articles
-
Christmas Sword Buying Guide 2025
Dec 03, 25 10:53 PM


Universal Sharpening
4 techniques to sharpen a sword by Tom Kinder
EDITORS FORWARD: Tom Kinder has a reputation among members of the SBG community for his skill at sharpening swords. In this tutorial, he details his methods and shows how anyone with the right tools, mindset and some patience can do the same thing - and retouch their swords to be as sharp as they could ever want them to be.
Here is a brief discussion of the methods I use to sharpen and polish my swords along with video tutorials.
These methods are best suitable for all blades that the have lenticular or appleseed edge geometry such as Katana and European cut-oriented swords (mostly Oakeshott types X - XIV)
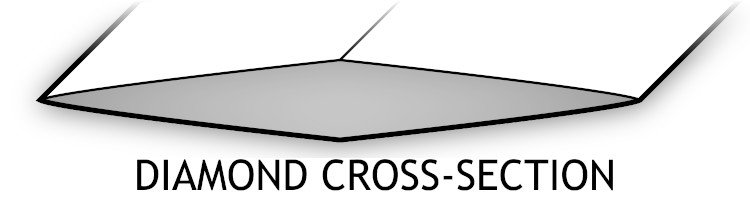
These methods can also work on blades with flat edge geometry such as flattened diamond shapes found in many European thrust oriented or cut/thrust oriented swords. I find the hand methods work more easily for flat edges but the belt grinder method can work fine if you apply it carefully.
I do not recommend using these methods on blades that are hollow ground meaning they have a concave edge geometry. I also do not recommend anyone who is not an expert and experienced polisher to attempt to polish antique swords with historical and or artistic value. those sort of swords really need an experienced artist to polish them. these methods are for common modern production swords only and works well for them.
This first my video is on hand sharpening/polishing. I still do this mostly in between the 1200 belt sanding and stropping to remove unsightly belt marks and help refine the polish and edge. If I started with the belt sander I only use the 1000 - 2000 grit paper; 1000 between the 500 and 1200 grit belts, and again with the 2000 paper between the 1200 and leather belts.
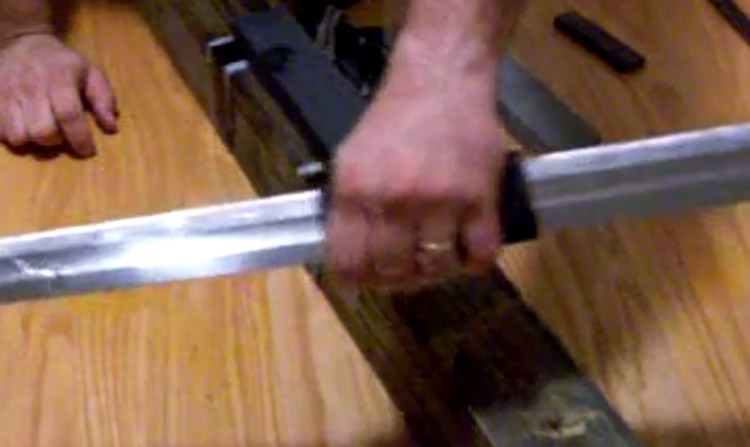
I also have begun to clamp down the blade to a bench or table edge and move the paper over the secured blade. less chances of accidentally taking off a finger and works the same way with the same motions.
Video 1A: Hand Sharpening with Sandpaper
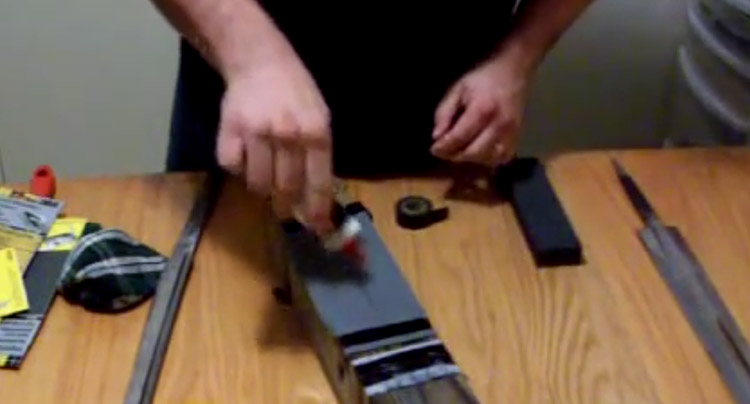
First off you will need a wooden board, some 3 in 1 oil (or any other suitable oil you have at hand, Singer Machine oil, honing oil, etc), cloth and some sandpaper, preferably 3M.
Tape the sandpaper to the board so that the sandpaper will be used in the same way as traditional Japanese whetstones.
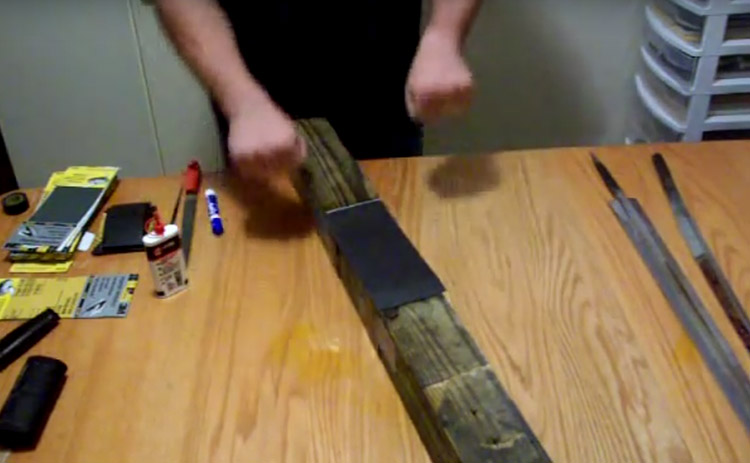
It is a lot easier if you use bare blades and disassemble the sword, but it is not 100% necessary.
Start out with 400 grit - the key is uniform movements in the same direction - straight back and forth, perpendicular to the blade.
For Katana, it is important to lift the mune (spine/back of the blade) of the blade up slightly so you do not polish off the ridge line.
With each pass, you want to add in a very slight rolling action. To learn this rolling action, try polishing more or less flat for a while and then flip it over and look at it. Most likely you will see scratches from the early polishing that are uneven and wanders all over the place.
All you need to do is use some pressure from your thumbs to try the subtle rolling action, check it again, and ideally, you want to see scratches from the early polishing that go all the way to the spine.
Putting it all together
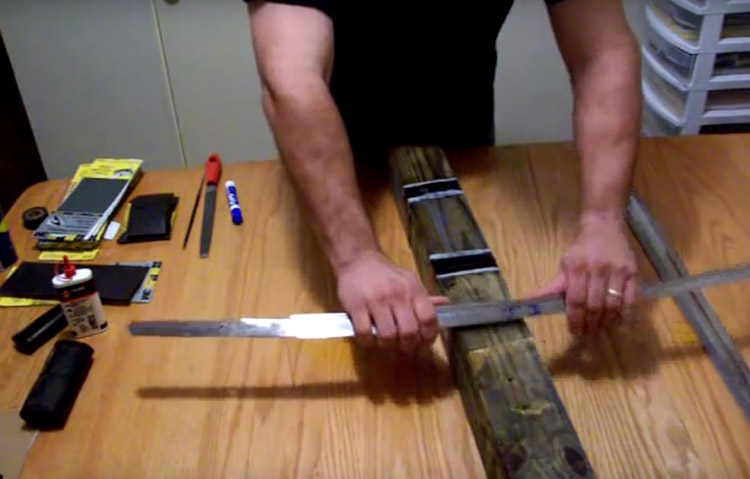
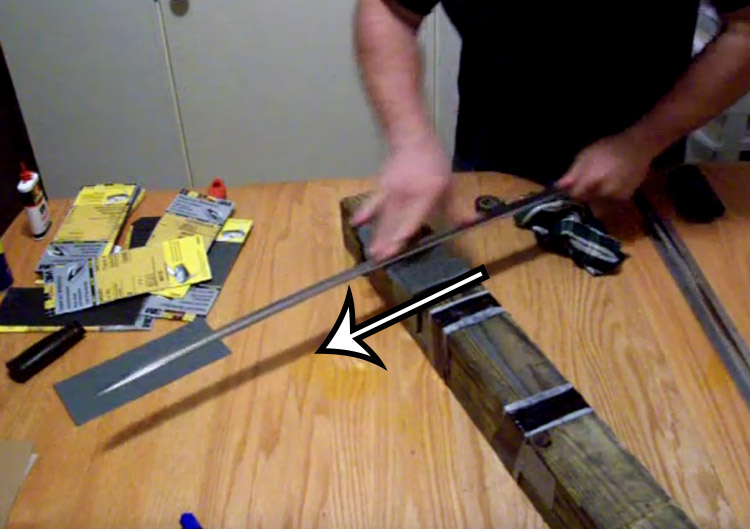
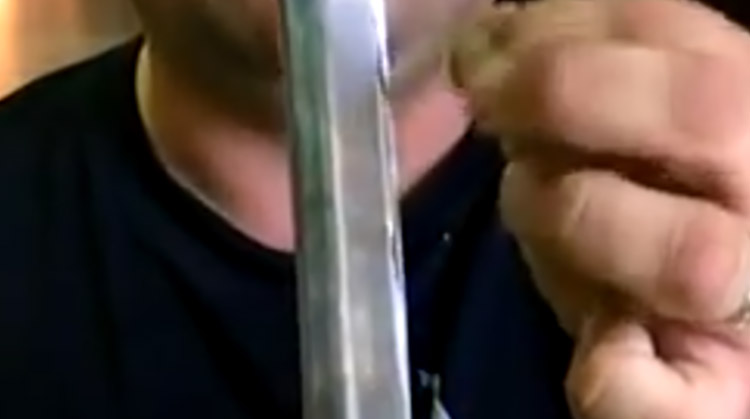
Lay down a small amount of your oil in a line on the sandpaper - use a towel or piece of leather to protect your hand, put your sword on, life the mune/spine slightly and start by running the blade towards you, always working with the same even action in the same direction as shown below.
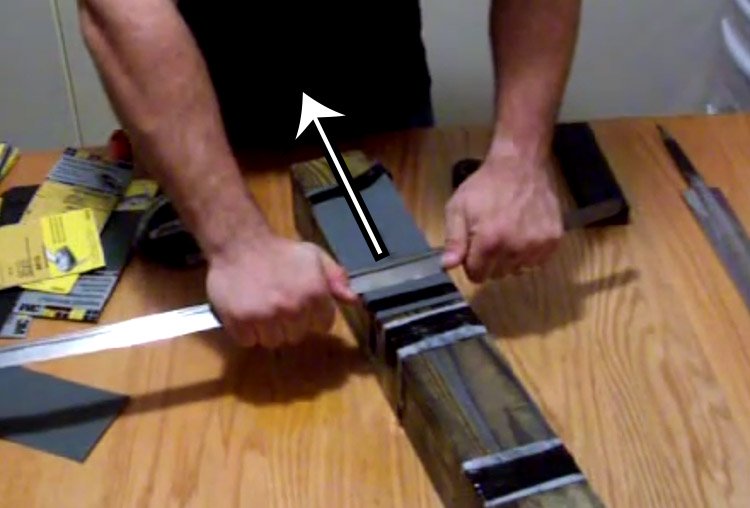
Do not rub it back and forth, always towards you - in one direction. If you rub back and forth, not only will the paper will bend and come off, but each time you push in the direction of the blade you will dull the edge slightly, which is counter-productive.
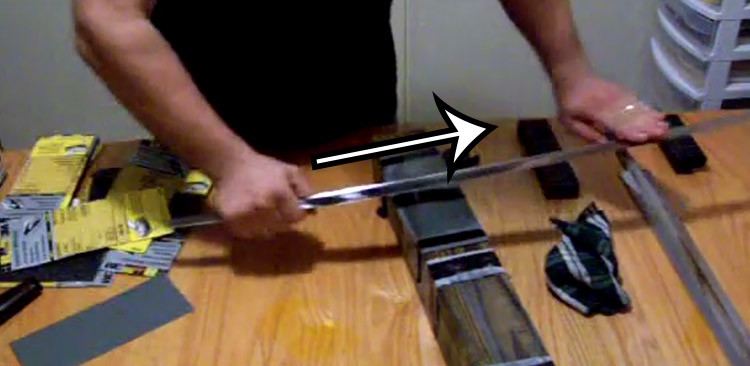
You repeat this action until the entire surface of the blade has been covered, then flip it over and do the other side.
With the first 400 grit paper, you want to replace any blemishes or marks you want gone with nice, perpendicular even looking scratches.
Once the whole surface has been done, change up to the next level of grit - 800 and using the same action, place it slightly diagonally.
The reason you do this is that you are essentially getting rid of all the evidence of the previous polishing, and it is easy to see what you have done if the scratches are facing a different direction.
When you then step up to 1000 grit, you do it diagonally in the other direction - each time you are effectively removing the scratches from each grit level, getting progressively finer and finer as you go.
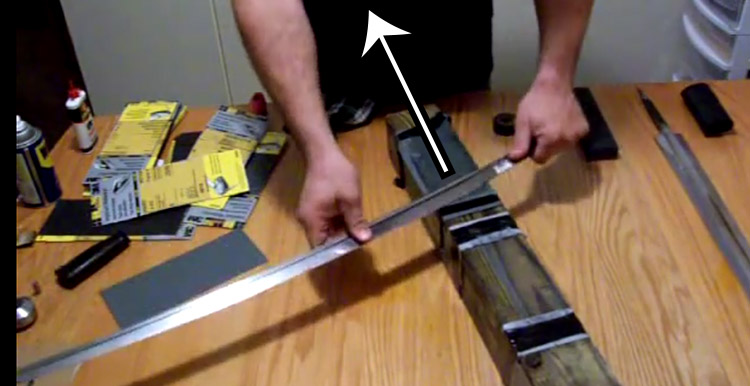
1000 is enough for most people, but you can step up next to 2000 - going down the blade..
And finish with 2000 - going up the blade in the opposite direction if you want that perfect mirror finish.
VIDEO 1B: Hand sharpening with files and stones
As you polish and go through the grits, your sword is going to get sharper, and sharper and sharper until it is scary sharp..
Sharpening a Secondary Bevel
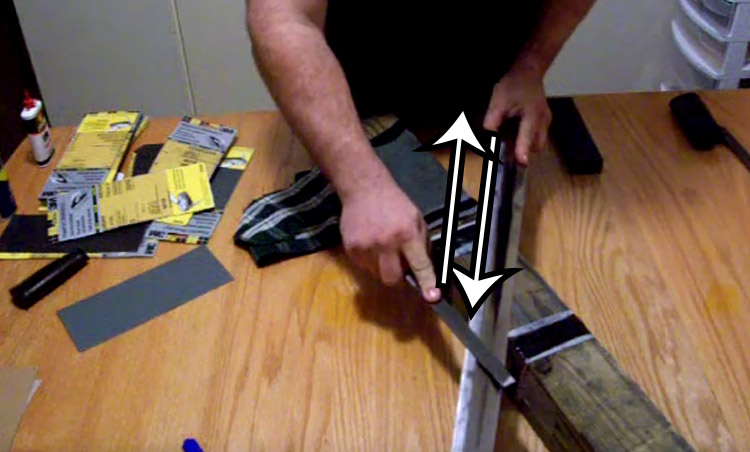
In the case of a sword with a thick secondary bevel such as with quite a few medieval swords, you will want to use a file. Simply place your file on the corner of the bevel of the blade as shown and start rubbing back and forth - your goal is to wear the secondary bevel down.
Some swords are hardened really well with a good polish on them and the file will just slide off. If that is the case, you will need to use a whetstone - plenty of oil and a plain old two tone whetstone with rough and 'fine' sides will do.
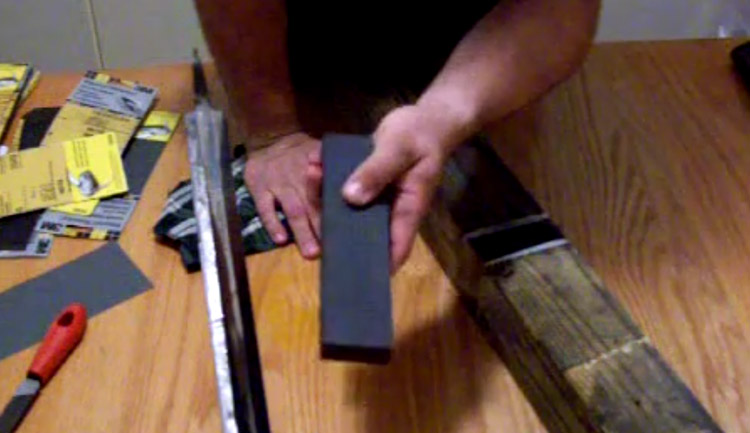
Generally speaking, most of these whetstones 'fine' grit is around 300 or 400 - and the 'rough' is VERY rough and only used in cases like this where there is a secondary bevel and a lot of reshaping needed.
Work with the first stone, coarse and then fine, then another finer stone and finally an Arkansas stone - though unlike with the sandpaper method, polish it by running it back and forth over the stone.
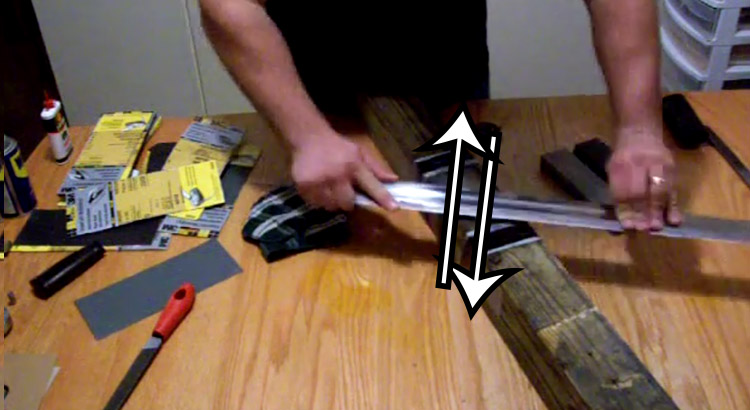
The coarser the grit of the stone, the more it will soak up the oil, so be sure to use plenty of oil at all times.
With double edged swords, it is best to work one edge at a time.
As the blade gets sharper, this is where a rolled up piece of leather slid over the blade comes in handy to prevent you losing a finger or two as you go.
It can take some time - with any hand sharpening method, patience is key.
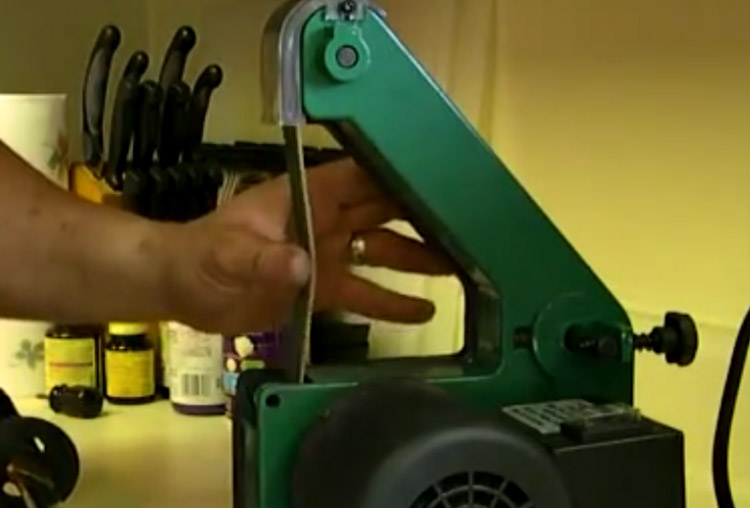
If you want to use the belt grinder/sander and get those wicked sharp edges people talk about you will first need the machine, here's a link to where to buy the belt sander I use. it works really well (Use these belts).
You can do everything up to the leather belt with the belt series:
D. Aluminium Oxide Grinding Belts.
The 500 and 1200 grits are all you really need unless you are sharpening blunt swords or removing heavy secondary bevels.
I also like the A. 15 micron Silicon Carbide Sharpening Belts as an in-between for the 500 and 1200 (the 500 grits are marked 20 micron and the 1200 are marked 9 micron putting the 15 micron between them in grit).
At the bottom of that page is: E. Leather Honing Belts and a link labled "ACC" which brings you to the page that has the honing compound here.
Here's how to do it:
Video 2A: Belt Sanders
Start off with a 20 micron grit belt to get an even surface and move on to a 9 micron grit belt - which is the equivalent of around 1200 grit sand paper - and the final step is a leather strop with compound.
Note: with a belt sander, the tip of your sword is especially fragile and should be hand polished, only use this method for the body of the blade - avoiding the tip otherwise it is all too easy for the belt sander to just rip the tip off.
 Do NOT use the belt sander on the tip - it is too easy to be destroyed
The area of the blade that you will be pressing against the belt sander is for a Japanese sword - the "Ji" - for a Western sword, the main bevel/cutting edge.
The edges of a sword are not flat like the roof of a house but are convex.


You want to preserve this cross sectional geometry - not flatten it out. When hand sharpening, this is achieved by adding in a rocking motion as you polish. But using a belt sander, the same result is achieved by simply pushing against the slackness of the belt and just maintaining the position.
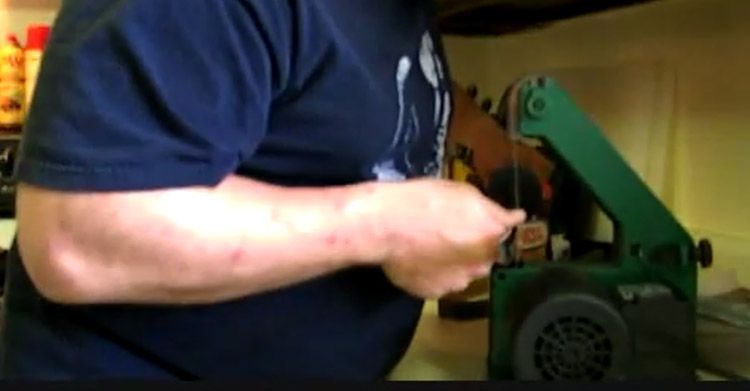
Move the blade back and forth across the belt sander at a very even and steady rate to avoid heat building up in the blade. This is critical or you can ruin the blades tempering but also to simply ensure that the blade is sharpened evenly across the entire cutting surface - doing the same number of passes on each side.
Once up, once down - flip it and repeat.
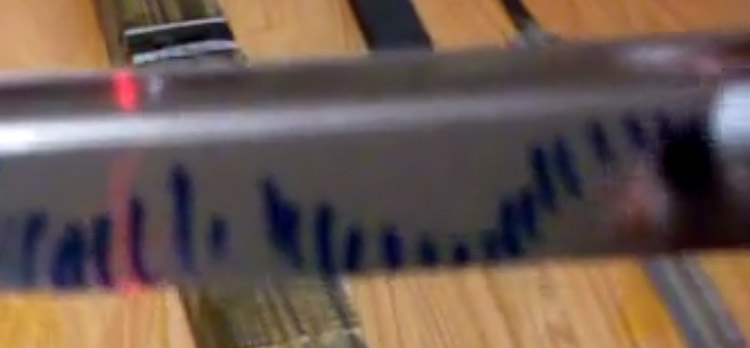
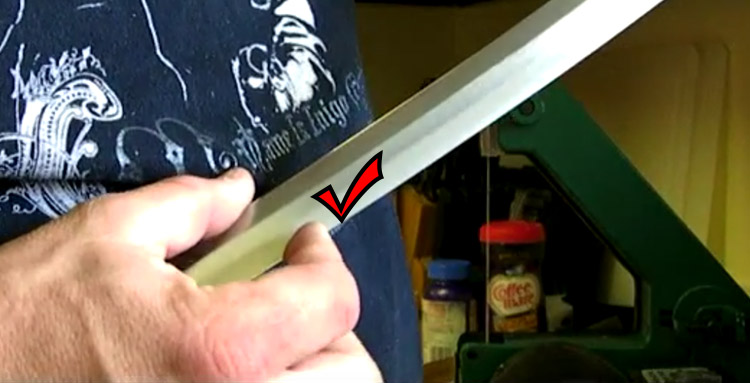
One thing to look out for is the 'wire edge' which occurs at the most extreme part of the edge and has a brighter, shiny appearance different than the rest of the blade which is caused as the blades edge is tilted from one side to the other. If you can see this, you are doing it RIGHT.
With the higher grit, it will break off - and with the leather strop and compound, it will actually sharpen the bit that broke off.
If you are not getting a wire edge, it means that you have not brought both edges together yet and need to continue on the sander until it appears.
Video 2B
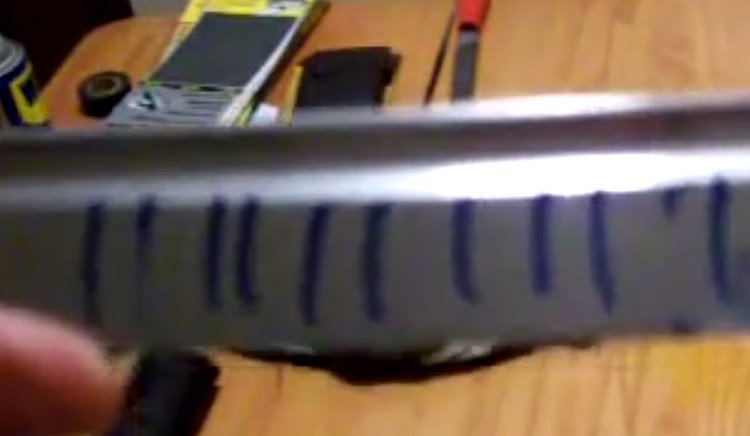
Moving on to 9 microns, repeat the process until you get an even wire edge. With all of these belts, you don't need to and should not use a lot of pressure - just enough to make the belt flex and touch the entire surface that your are sharpening.
It will look like the blade has developed a secondary bevel because part of the edge is much shinier - however if you touch it you will feel that the geometry has not changed and it just looks like a secondary bevel.
If it will be a workhorse blade - then you can skip the next step. Otherwise, if you want it to be beautiful, you should take a break and use some 1000 or 2000 grit sandpaper by hand along the length of the blade to polish the face of the edge to make it nice and shiny.
Leather Strop
The strop has two sides, one smooth and one course - and you use the course side on the blade.
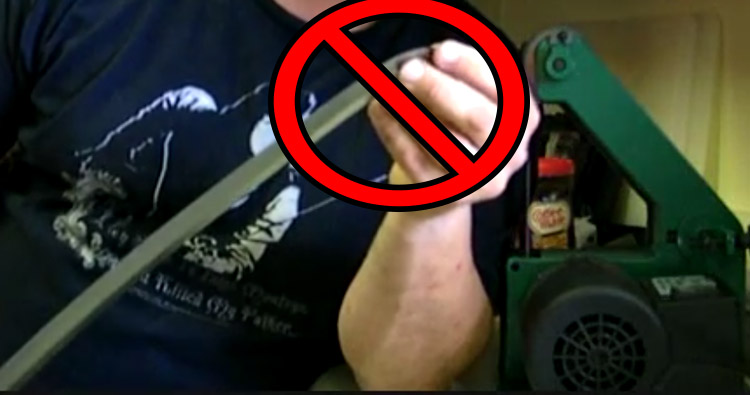
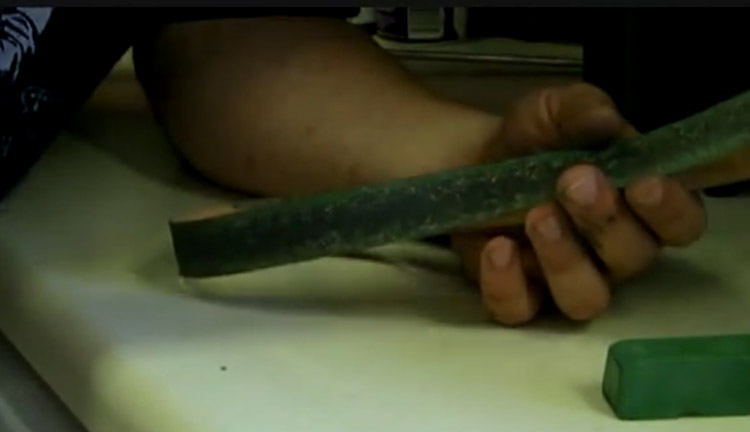
The compound is a block similar to jewelers rouge (around 0.5 microns) - you rub the block of compound on the strop as shown below and color it like you are using a crayon.

While you can place the compound on the running belt, it breaks pieces off and makes a terrible mess, so it is better to apply it to a section of the strop as shown above.
 No, that's not what you call a traditional 'finger polish'..
The leather is a lot stretchier with a lot more play - so as before you don't need to and should not push hard. Just enough to make good contact with the area that you are sharpening.
Same as with the other belts, use a nice steady pace and evenly polish/sharpen each side.

And just keep on going until it is scary razor sharp - this is the last step. The key is to ensure each side is evenly sharpened otherwise you will push the blade's edge to one side more than the other and not get a nice even sharpness throughout.
This machine works great for CONVEX edges such as lenticular or
appleseed shaped edges but is not suitable for hollow ground blades; for
these you need a fancier machine with the right kind of wheel. please
do not fall to the temptation of taking the top wheel guard off and
using that guard as a contact wheel.

I have tried this with disastrous results. that wheel is not designed to be a contact wheel and will cause your blade to bounce which will screw things up fast.
For flattened diamond and other flat edged blades I do the same thing at
for convex or Appleseed blades except that I use almost no pressure
against the belt and I watch very carefully to make sure as much of the
flat is being touched as possible.
I have had poor results from using the flat guide bar that comes with the machine but your results may vary. I think the main reason it hasn't worked too well for me is that I didn't need it for so long I lost the screws and none of the replacements I have found have really fit right. so don't throw out those screws or that plate as you might want them later on.
Good luck all, and remember the best thing you can do is go slow and check your progress often.
I hope this tutorial on how to sharpen a sword has been helpful. To return to How to Sharpen a Sword from Universal Sharpening, click here
Buying Swords Online Can Be DANGEROUS!
Find the Best Swords in the:

Popular & Recommended ARTICLES


The ONLY true free online magazine for sword enthusiasts. Delivered once a month on the 1st day of the month, no filler and no BS, just the latest sword news & info delivered straight to your inbox.
VISIT OUR SPONSORS:


