Recent Articles
-
Christmas Sword Buying Guide 2025
Dec 03, 25 10:53 PM


How to Make a Sword the Easy Way!
What follows is guide on how to make a sword using the most simple and straightforward method suitable for a beginner - stock removal (in other words, taking a length of steel and shaping it into a fully functional sword).
While this guide has been designed with the beginner in mind, learning how to make a sword is a fairly steep learning curve, requiring a fair amount of experience working with power tools - so we do not recommend this method if you are under 18 years old or are not a natural DIYer..
That said, for those of you willing to give it a try, the following
guide is a great place to learn the basics of how to make your a sword
based on the techniques used by sword artisan Brendan Olszowy (aka
'Brenno') from FableBlades.com
Indeed, these swords were some of his earliest attempts - and this guide shows you exactly how to make them..
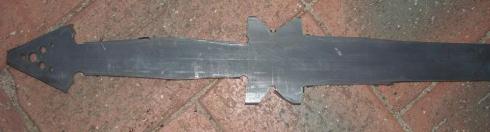
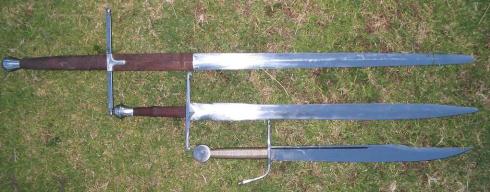 Early attempts that anyone can make
Then with practice, just like Brenno, over time you can refine the details and maybe even create works of art like this (hard to believe it is done by the same person, but it was - and the techniques to make either have are the same).
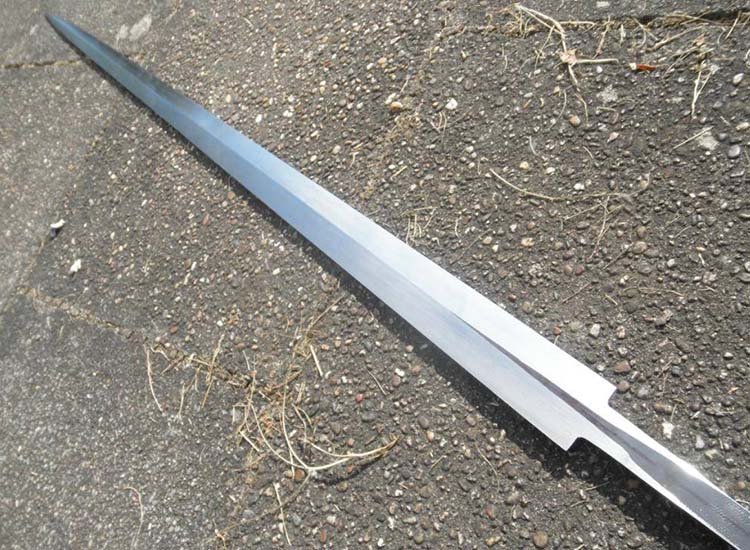
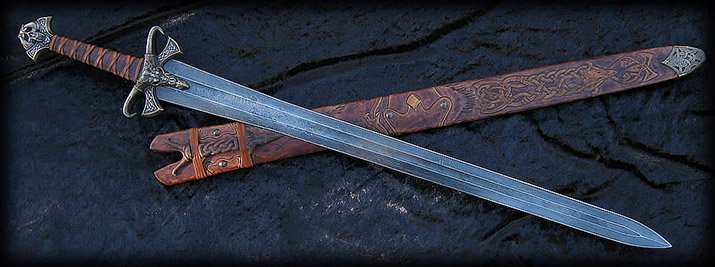 And several years later, after much trial and error, the same gentleman makes swords like THIS...
This free illustrated guide is both straightforward and presented in a step by step format, so with a little skill and elbow grease, it's possible to create a seriously functional, original sword that you can be proud to call your own.
How to Make a Sword - Step by Step Guide
Our basic guide on how to make a sword using the 'stock removal' method.
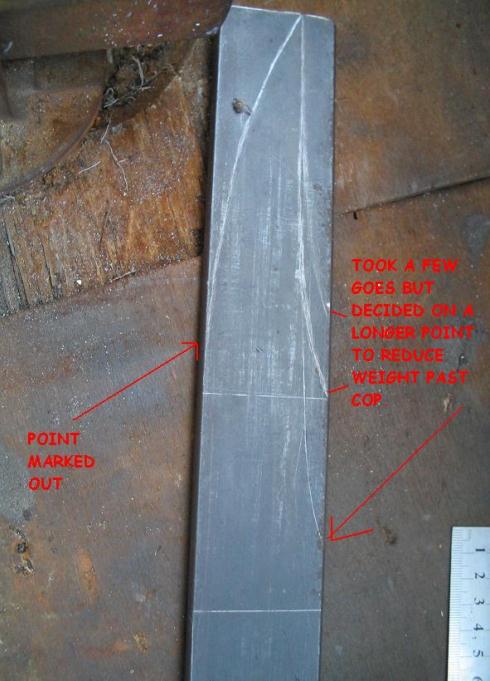
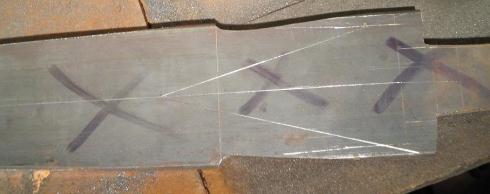
STEP ONE: Outline Your Design
Decide what type of design you want for your new knife, dagger, or sword. Mark your steel where the outline of the blade will be, from tip all the way to the end of the tang.
After marking the outline on your steel, then drill out any places that you won't be able to get to with an angle grinder. (Make sure to drill first - after grinding, the steel hardens and it will be almost impossible to drill.)
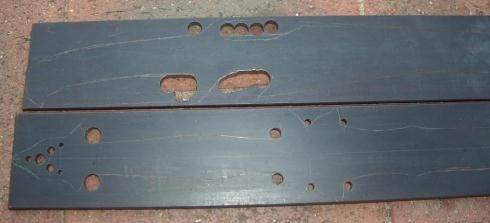
This step is unnecessary for simple straight blades.
STEP TWO: Cut Out the Outline
Using a 5" angle grinder (with 1mm cutoff wheels), cut along your outline, leaving some room for error (about 2mm away from the line is good, once you get more practice you can try going closer).
STEP THREE: Refine the Profile
Refine the profile to the exact lines that you want, taking off that 2mm that was left behind by step 2. Use the angle grinder again, this time with a 6mm grinding disc. As you get close to your lines, try and keep your strokes long to make the edge as smooth as you can. If there are minor high or low spots, smooth those out by hand with a file.
RELATED ARTICLE:
Learn how to create the perfect blade geometry by adding distal taper to your sword.
STEP FOUR: Final Shaping
Begin to grind in the bevel. Make sure your center line is clearly marked first. Start with a steep angle at the edge of the blade, and then smooth it out to the center line. Once again, try to keep it as smooth as you can. Going all the way down the length of the blade with each stroke takes some time, but it gives the best results. Don't try to get it perfectly sharp; it's good to leave at least a millimeter thickness at the edge of the blade to keep up the blade's strength before heat treating.
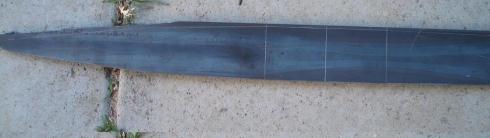
 BEFORE
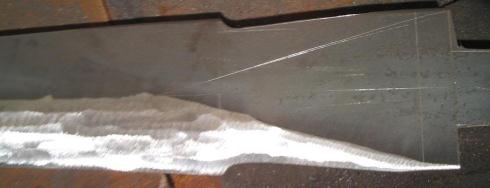 AFTER
AFTERUse a belt sander to smooth away the rough edges left by the angle grinder.

STEP FIVE: Heat Treating
Since this is a very basic 'how to make a sword' guide for beginners, we'll assume that you don't have your own forge. Most manufacturers that supply steel will heat treat your blade for a nominal fee, so take your newly shaped blade back to a local steel supplier and request that it be heat treated.
Heat treating is very important to ensure that your sword is flexible enough for cutting and resists taking a set on a bad cut.
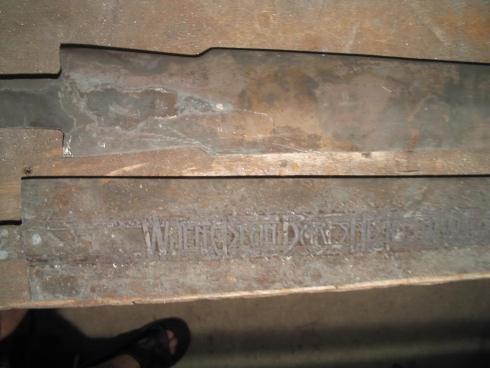
This is how it will look after heat treatment. That dull finish can be removed by sanding.
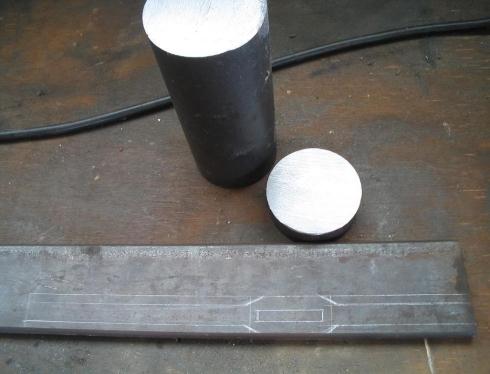
STEP SIX: Crossguard and Pommel
6. a) Crossguards and pommels are available online if you wish to purchase them, though they will have to be adjusted to fit the tang on your blade. If you want learn how to make a sword cross guard and pommel from scratch, making the crossguard is very similar to steps 1 through 3; design and mark out the shape that you want on your steel, cut out the shape and refine it. For the pommel, if you can obtain a steel rod that makes your job a bit easier.
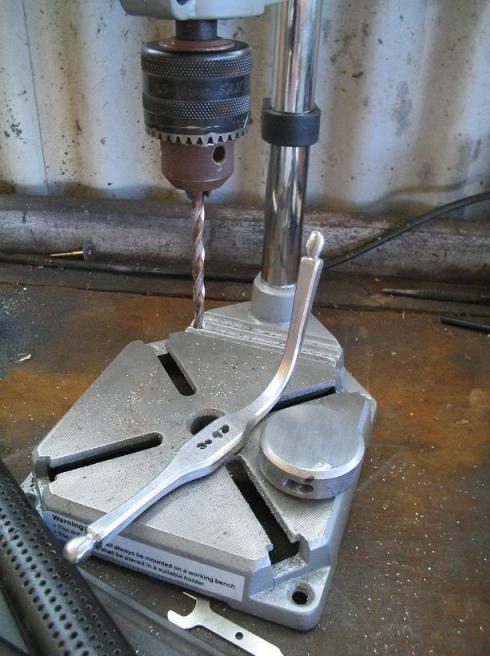
6. b) Drill (a drill press is invaluable for this task) holes in the crossguard that will be filed out to make room for the tang. Make sure it is a snug fit, don't make the holes too wide. Drill through the pommel as well.
6. c) Clean out the rough holes made by the drill using a dremel and a needle file. The holes should be snug enough to the tang that you need a mallet to get them on. The crossguard can be affixed to the tang at this point, though leave the pommel until after the wood for the grip is finished.
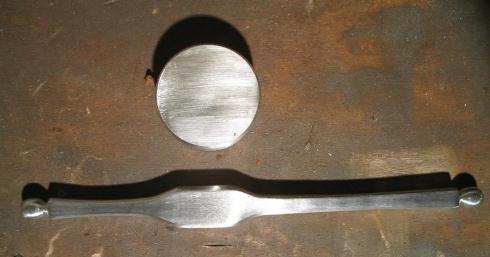
STEP SEVEN: Make the Handle
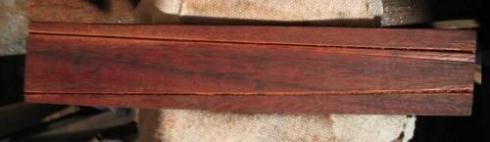
Choose the wood for the grip - European Beech is often historically used, though any hardwood should work just fine. Cut two lengths needed to fit between the crossguard and the pommel (the two halves will be hollowed out and then epoxied together around the tang). Round the wood with a belt sander.

Measure the width of your tang at the base and at the tip and mark the inside of the wood, then make a shallow cut along the lines with a hacksaw.
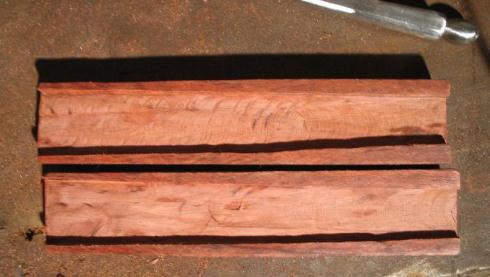
Chisel out in between the cuts. Use a dremel to smooth out the inside so that the wood will rest comfortably next to the tang.
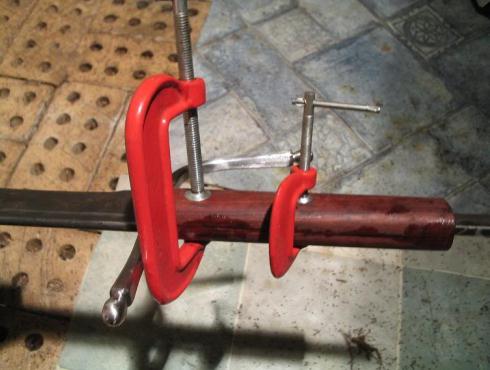
Place the two halves of the grip along the tang, liberally applying epoxy to both of them and clamp them in place for them to dry.
After it's dry, the grip can be refined a bit with a belt sander to taper it or give it a slightly different shape.
RELATED ARTICLE:
How to do a handle wrap the easy way
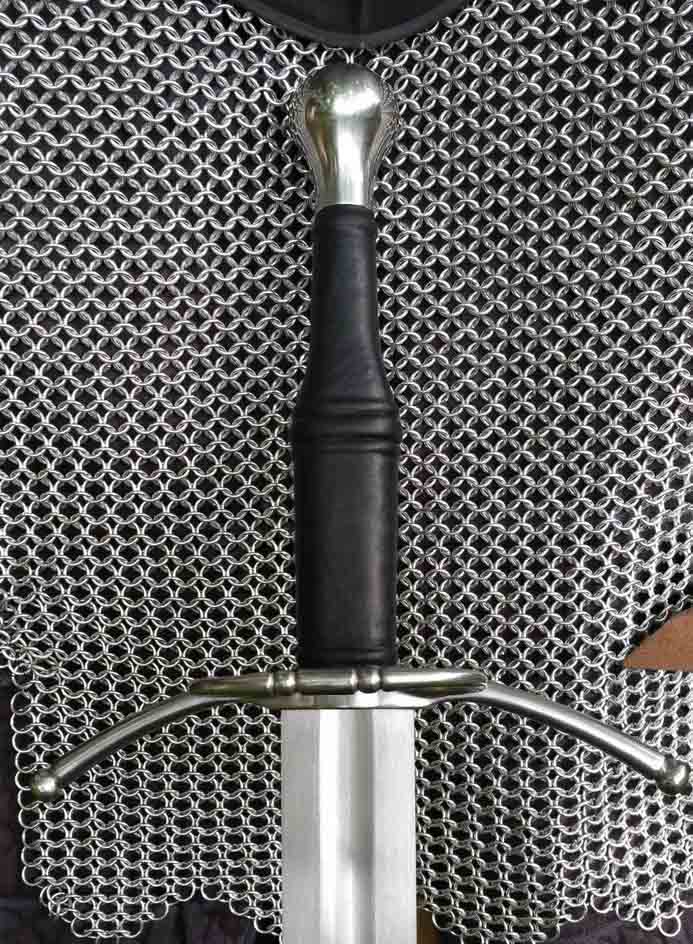
Learn the basic techniques to wrap the handle of a medieval sword in leather the exact same techniques used to make the handle assembly seen in this picture!
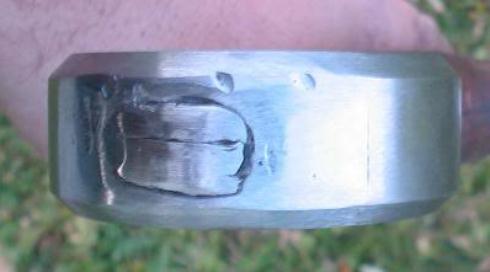
STEP EIGHT: Put it all Together
Put the pommel in place on the tang above the wood, using (you guessed it) more liberally applied epoxy. Trim down the end of the tang so it's about 3 mm past the pommel. To peen the end of the tang, cut down the middle of it using the dremel with a small cutoff wheel. Use a chisel to spread the two halves apart so you can hammer it flat. Before hammering rest the tip on a few pieces of wood, and make sure it is over soft ground in case the blade goes through. Now hammer away. It will probably take a degree of violence. Do try to be careful though, you certainly don't want to damage the sword you've worked so hard on to get this far. Take the angle grinder and remove any excess left and then sand it to smooth it out.
STEP NINE: Final Sharpening & Polish
To get a nice edge and shine on your new baby, polish using sandpaper with a finer and finer grit. If you alternate directions (for example going along the blade with 120 grit, then across with 240, diagonal with 320, etc.) then it's easier to see when you have successfully worn down the lines left by the rougher paper.
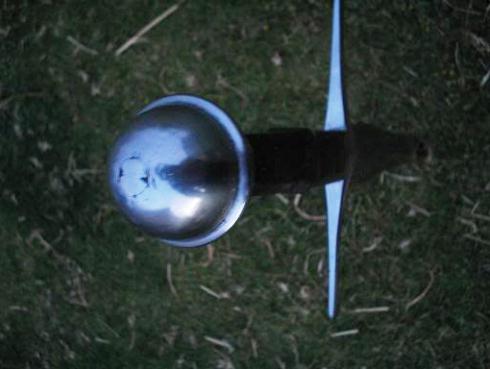
STEP TEN: Enjoy!
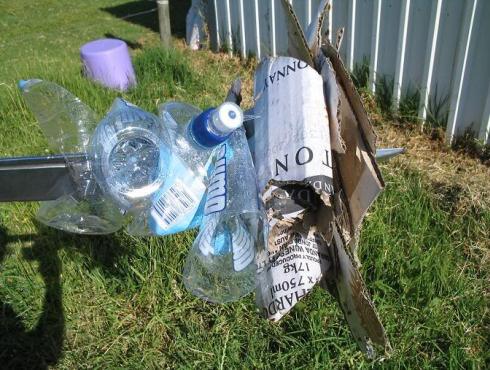
I hope this ten step guide on how to make a sword has been helpful and encourages you to experiment with various styles to create your own home made armory! While not everyone wants to make their own sword, for those of you who want to know how to make a sword and to try their hand, this guide should be enough to get you going!
Further Resources
SBG member Brother Banzai - aka Jeffrey Robinson - put together a couple of videos showing how to make a sword using the stock removal method. Below is part 1.
And part 2 can be found on YouTube here
Check out the following books and DVDs to learn how to make a sword using other methods and in different styles..
 |
 |
 |
I hope this guide on how to make a sword has been helpful. To return to Sword Making 101 from How to Make a Sword the Easy Way, Click Here
Buying Swords Online Can Be DANGEROUS!
Find the Best Swords in the:

Popular & Recommended ARTICLES


The ONLY true free online magazine for sword enthusiasts. Delivered once a month on the 1st day of the month, no filler and no BS, just the latest sword news & info delivered straight to your inbox.
VISIT OUR SPONSORS:


