Recent Articles
-
Christmas Sword Buying Guide 2025
Dec 03, 25 10:53 PM


Distal Taper Stock Removal
To make the best sword possible, distal taper stock removal is a technique you need to apply in your sword making projects.
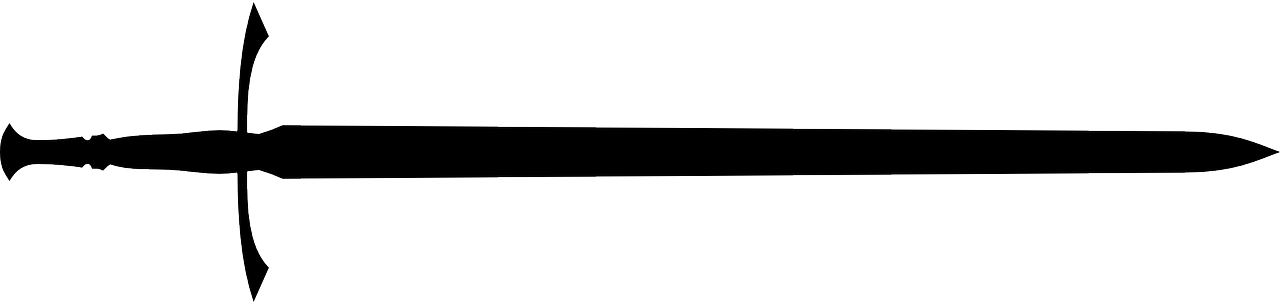
It is actually much easier than it sounds - and made even easier with this edited tutorial originally appearing on the SBG sword forum written by Lukas MG (Chenessfan) where he documented making an Oakeshott Type XVIIIb Longsword.
So without any further ado, let's get straight to the (pardon the pun) point..
Basic Principles of Distal Taper Stock Removal
When I plan a sword, I make several full size drawings. Depending on blade profile and intended purpose, I decide what kind of distal taper I want (convex, linear or concave). I then write down estimated measurements on the drawing.
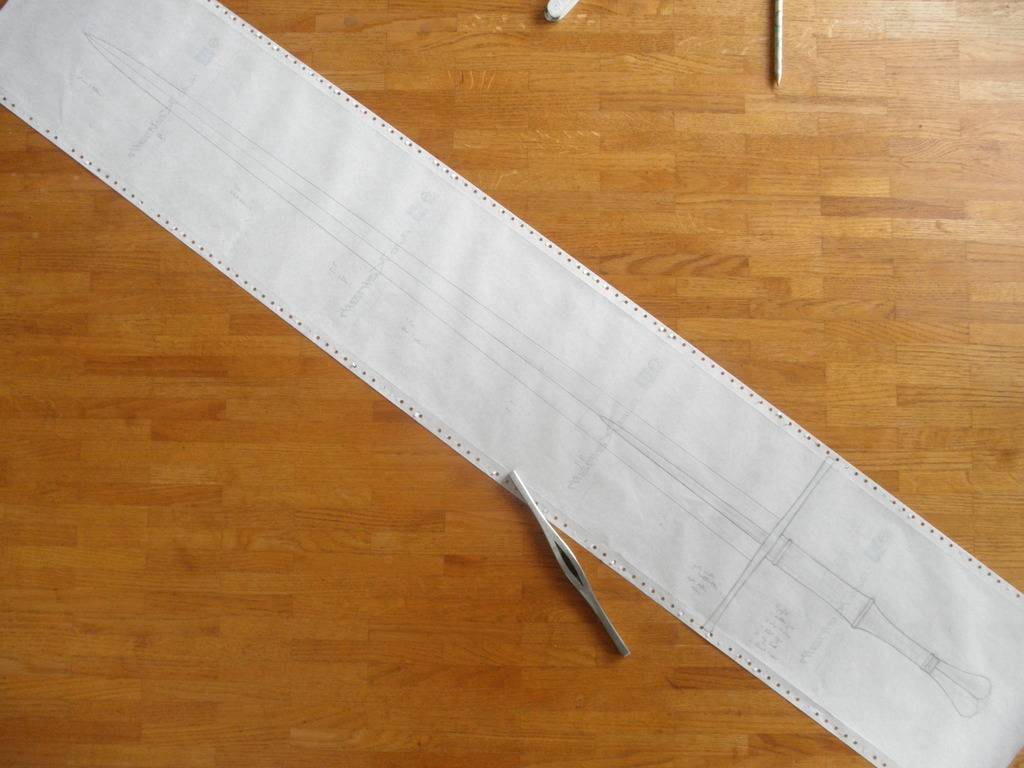 Create a full sized 1:1 scale technical drawing of the sword you intend to make
Let's go with the taper on my XVIIIa for this example. It's a very light civilian dueling sword and has according distal taper. At the base of the blade I write 5mm, 10cm down 4.5mm, 20cm down 4mm.
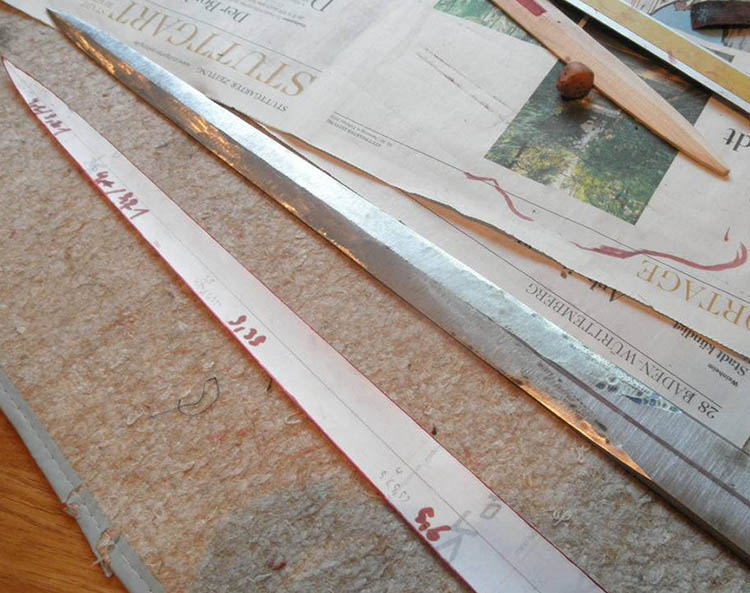 Mark out the thickness of the sword as it tapers on both drawing and actual blade
As you see, very little taper on the lower third. If this was an XIII, things would look much differently.
Anyway, back to the XVIII. At the estimated CoP (center of percussion - the 'sweet spot') I'm down to 3mm, at the tip it's about 2mm.
These numbers are what I think will give the desired characteristics. During the making, I will always tune things, maybe change them considerably as the sword progresses. Only in hand will you know exactly what the sword needs but usually, I'm pretty close with my first estimation.
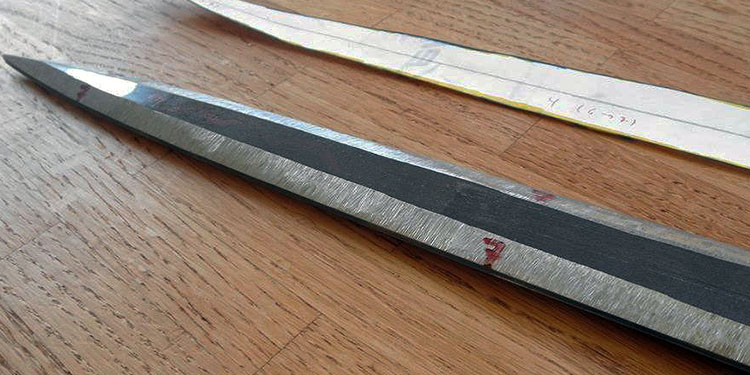
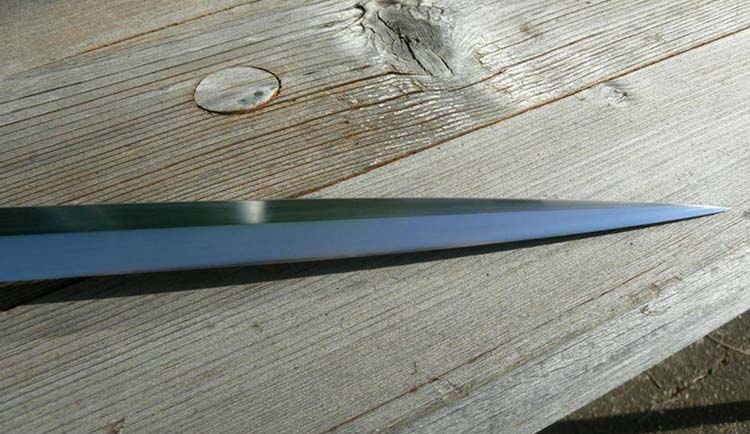
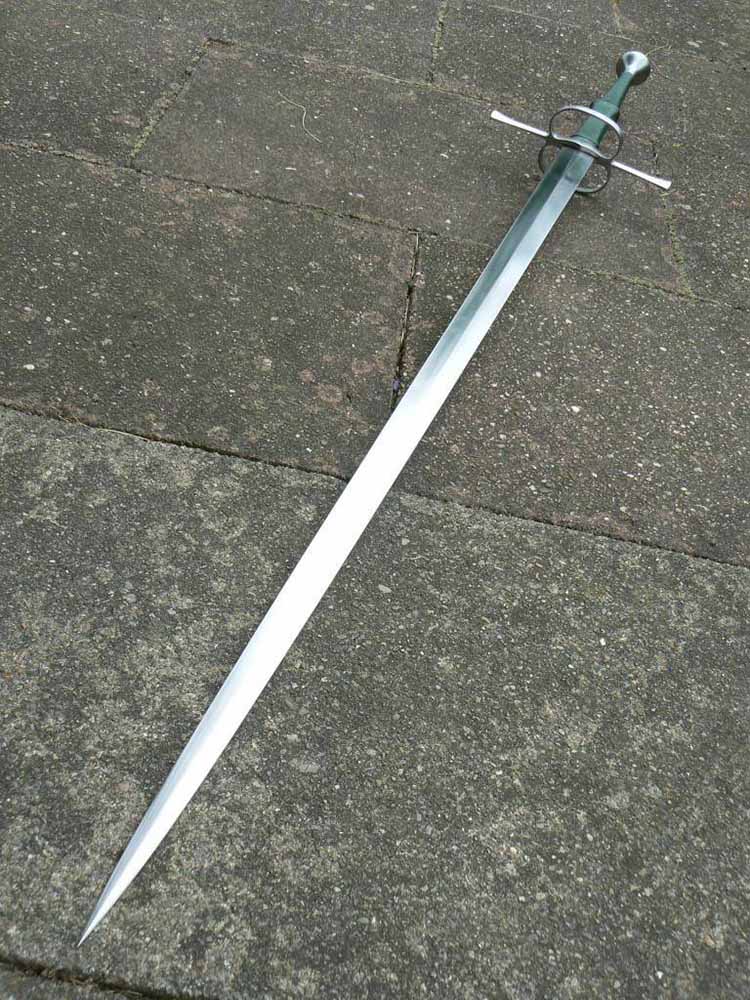
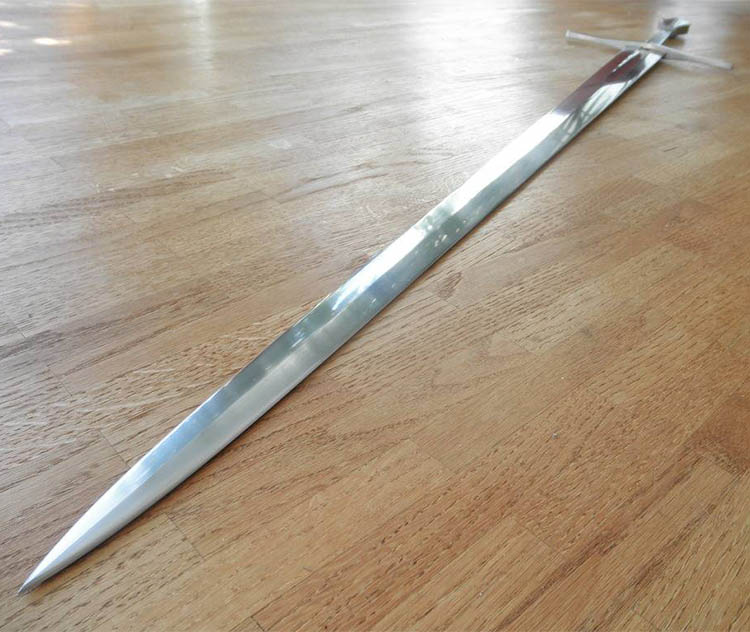 The finished sword showing the distal taper of the blade
It is interesting to note that the it is easier to get distal taper with stock removal than with forging - as you can mark it out on the blade and be more 'scientific'. The only caveat is that if you mess it up, it is harder to correct than with forging..
Once the final distal taper stats are on the drawing, I add 1.5mm to each point on each side (where it is possible... hard to add 1.5mm to 5mm when you start with 6mm stock). For the tip this leaves me with 1.5mm (final thickness)+3mm (1.5mm on each side)= 4.5mm.
This second number is how far I take down the blade thickness with the angle grinder. I'm not yet grinding bevels, I thin down the flat, profiled sword blank to give it a starting distal taper.
As the
angle grinder only gives a rough form, most work will be done by hand.
With an additional 1.5mm on each side, I have enough material to work
out all dings and irregularities from angle grinding with files and hand
sanding without making the blade to thin. If you work cleanly, you
might already have flat bevels and still leftover material to your
desired final thickness that will have to be taken down laboriously by
hand sanding but that's much better than the other way round (and nobody
told you making a good sword is easy work, right?).
After the first thinning of the blade blank, I grind in the bevels. I try hard not to add any more distal taper, just the bevels. Especially in the lower third where you have practically no material to lose one needs to be careful not to grind the thickness down. After angle grinding, it's up to files and sand paper to get the bevels flat. This will further reduce the blade thickness, getting it closer to where you want it to be.
Ideally you'll get the bevels flat soon and then only need to worry about getting the thickness right. If you screwed up the angle grinding, you might end up having the right thickness but not yet flat bevels.
Then you need to decide: either take it down more, hopefully getting it flat but possibly ending up with a an overly thin blade or leave it as is and accept the flaws. I like neither and that's why I start my blades longer than they are supposed to be in the end. That way if you get the tip portion to thin while working out flaws, you can shorten the blade, getting it to the correct thickness again.
This of course only works if
you screw up the tip, the base or middle is a different thing. But from
my experience it's usually the tip that just doesn't want to get
properly flat on you.
During this process, I frequently take the blade in hand, swing it, flex it to see if there are any dead spots and just generally check how it behaves. Some regions need further work, others might turn out to be best left a bit thicker than originally planned.
By hand sanding, I go slowly enough to avoid taking off too much. If I feel it's right, I stop, no matter if I reached the thickness estimated in the beginning.
Distal Taper Stock Removal Hands on Example
I start by making a full-size drawing and tracing it on a piece of 8mm 56Si7 spring steel.
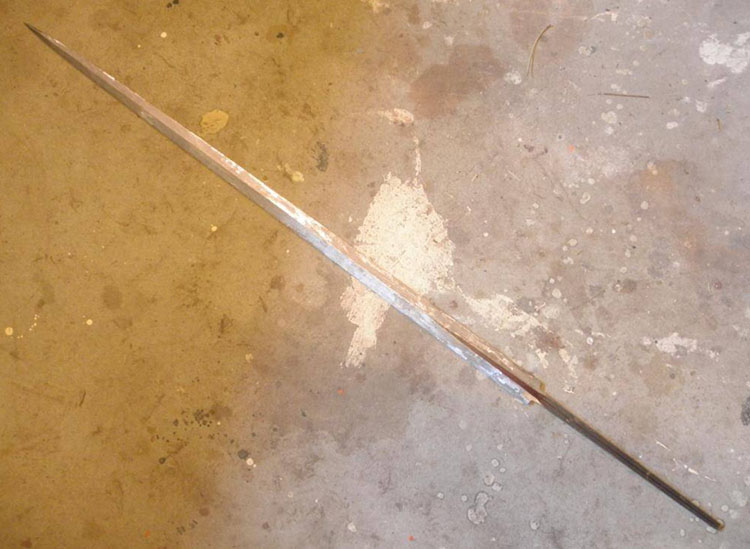
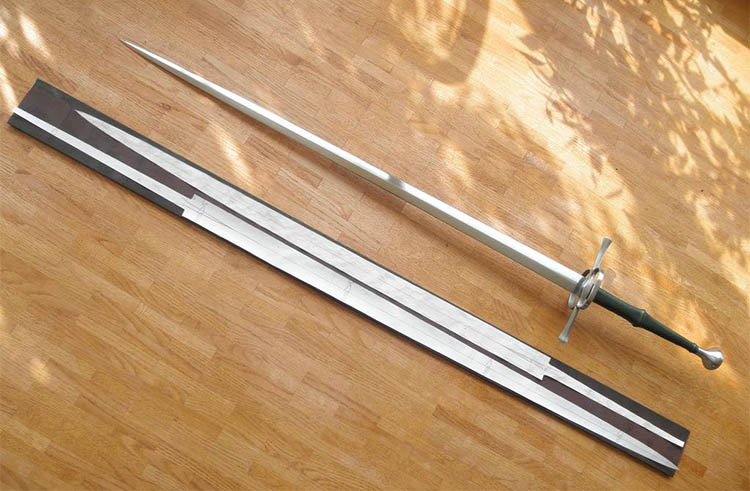 The actual completed sword and the genesis of a new one..
Next, the outline is cut out with an angle grinder. Then I set the edge thickness to 2mm, after final sanding it will be around 1mm. Since my heat treater is using salt baths, that's plenty thick enough. It's also no pleasure at all working on 58Rc hard steel so the closer to final shape before HT, the better. Naturally this leaves little room for error and corrections after HT (due to warping, sabering, etc) are difficult. It's all a trade off...
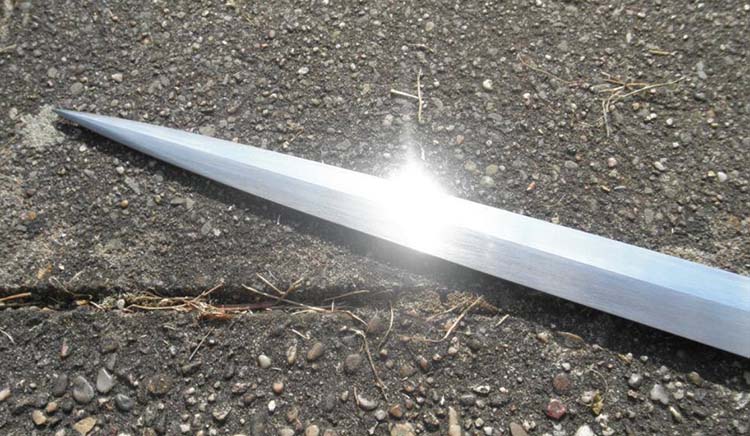
The next step is grinding in the distal taper. These types of longswords have a non-linear distal tapering that starts out convex and flattens out closer to the tip.
Finally, the blade is ready to have the actual cross section ground in.
That's my favorite part of the entire angle grinding process as the
sword now starts taking shape. Before it was just a graceless bar of
metal, the shaping of the blade bevels changes that. It's also not as
monotonous and stupefying as for example grinding in the distal taper.
 To get the straightest lines possible on the blade, DRAW a straight line on the blade and never cross it when you grind (yes, sounds easier than it is)..
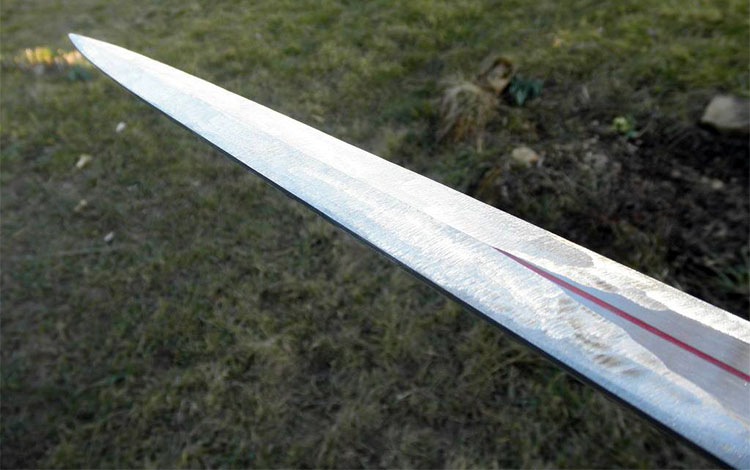
Refining the Distal Taper Stock Removal Blade Profile
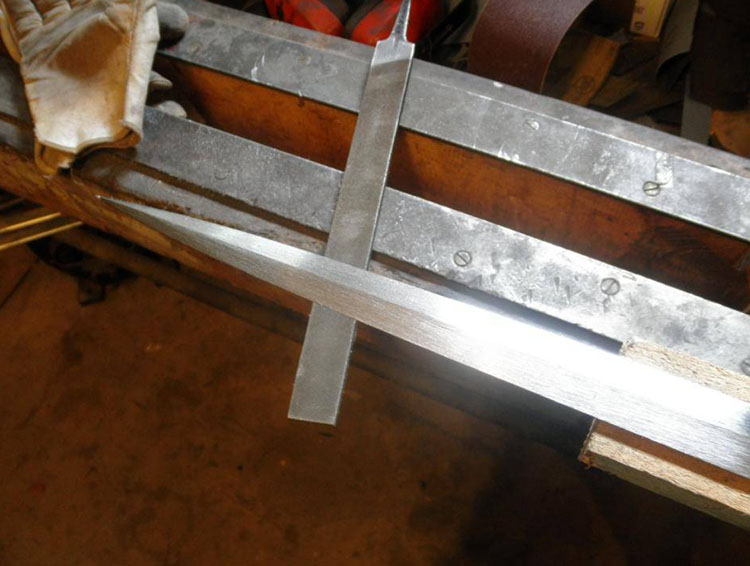
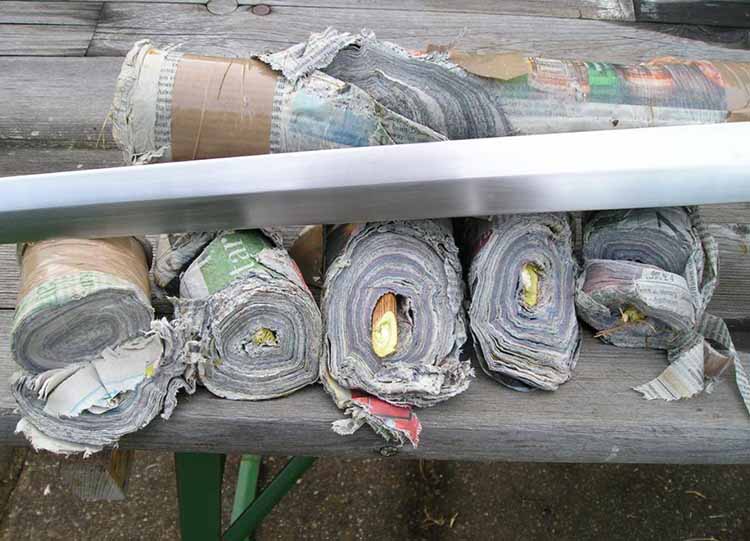
This is the blade after rough grinding with the angle grinder:
I started with 8mm stock and set the distal taper so that the finished
blade would sport a convex distal taper to about 4mm before the tip.
Overall length is around 133 cm btw, with the blade being about 100cm
long. Classic 3:1 blade to handle proportions.
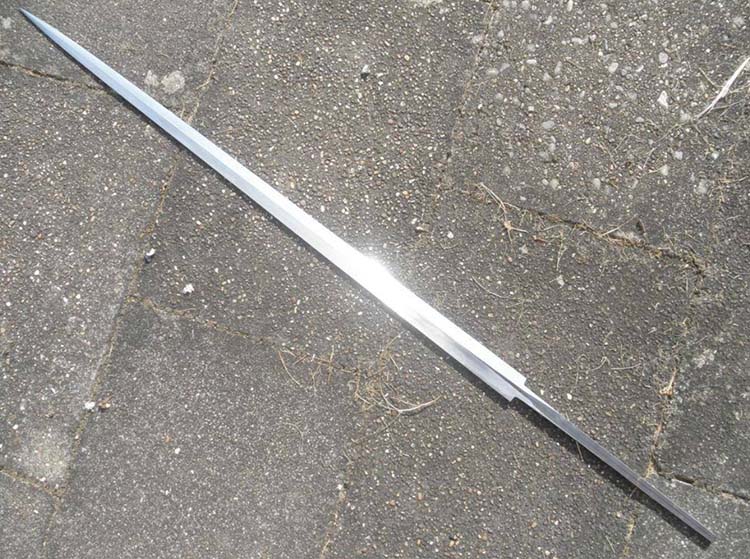
A couple hours at
the belt sander (I found a 40$ one from eBay clamped into the vice
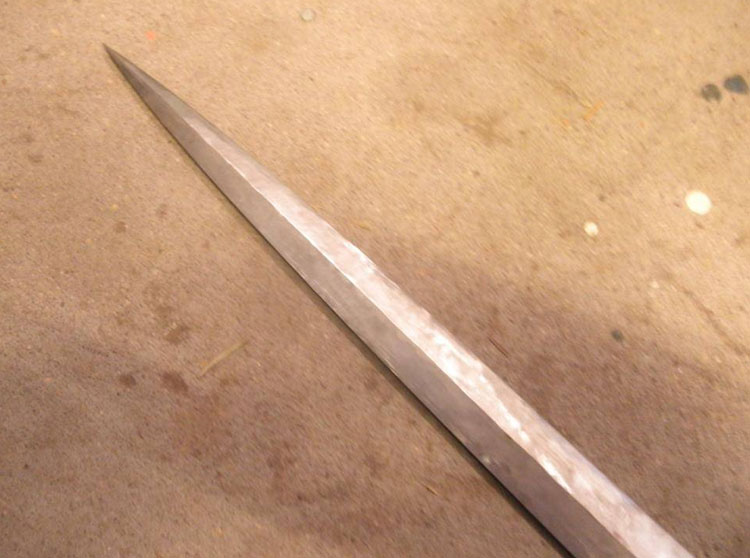
works very nicely) and some draw filing at the tip later, I got this:
Finished grinding, now it's onto hand sanding.

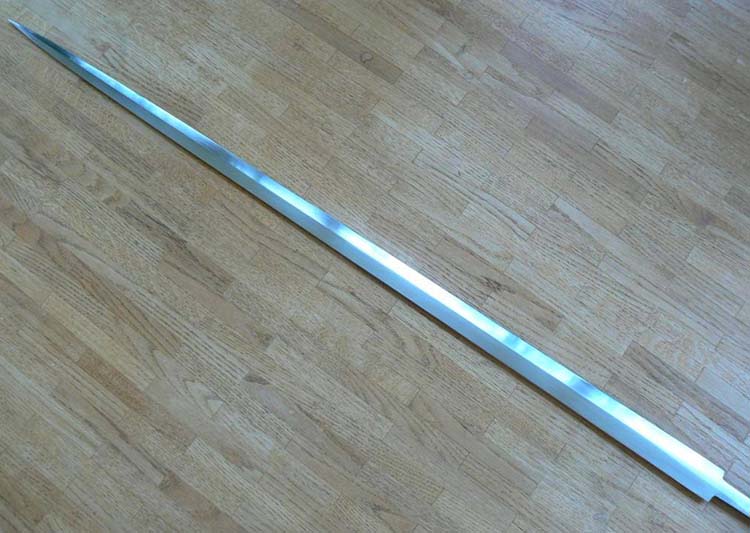
Now the blade is ready to be sent off to a heat treater - and when it comes back it has the obligatory and unavoidable kinks and sabering caused during the process which then need to be corrected. You will never get it 100%, but by putting in a lot of extra time and effort, can get 99% of it out.
Then comes the final grind and foundation sharpening followed by hand sanding to clean up all remaining irregularities. The blade will also be sharpened and polished in the process.
And here it is, the completed bare blade.
Finishing Touches
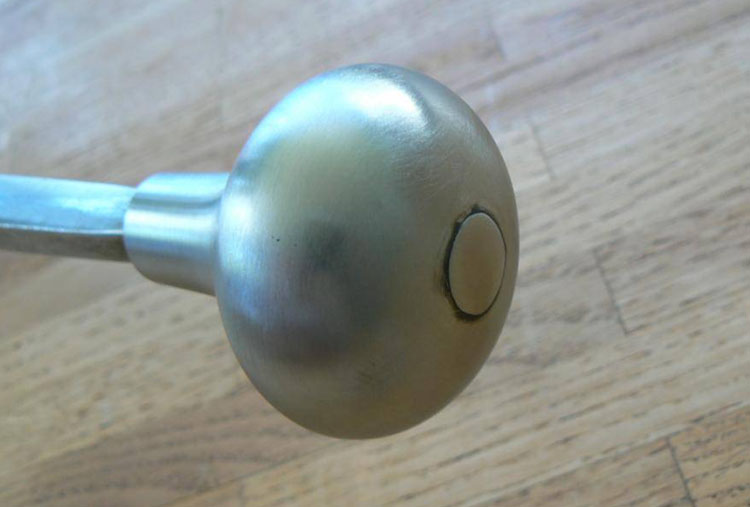
The complete the distal taper stock removal sword a variation of the basic 10 step stock removal process was used. In this case peening a freshly minted pommel and cross guard to the hilt..
The grip is carved and glued:
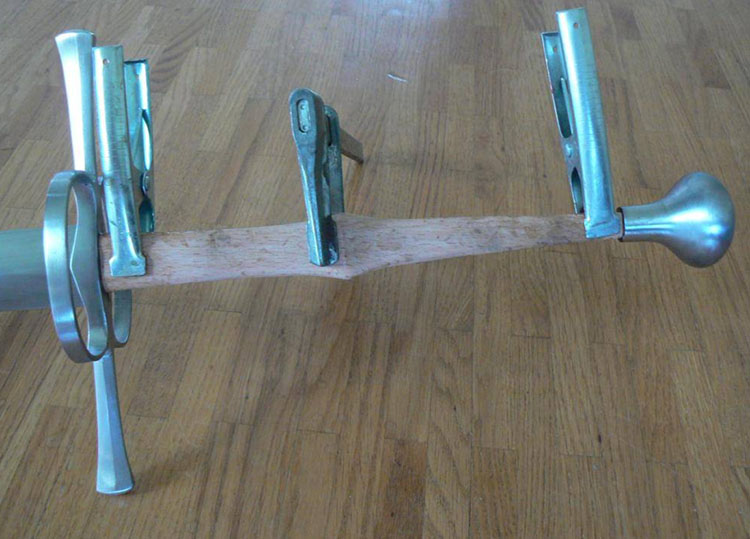
Then using the hilt leather wrapping process here, risers are attached and a base of twine is laid down:
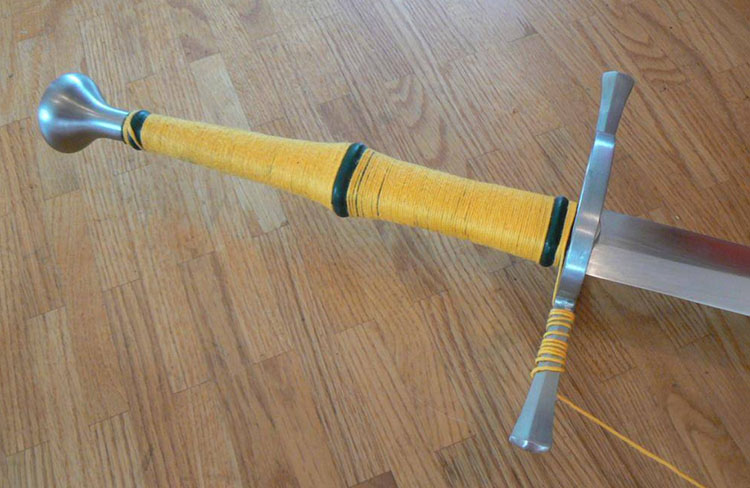
 I ran out of yellow string while wrapping and had to finish with white. Doesn't matter anyway.
Then I soaked the leather, did the leather wrap and wrapped again with cord.
And here it is, the a distal taper stock removal sword done and dusted.
About the Artisan - Lukas MG
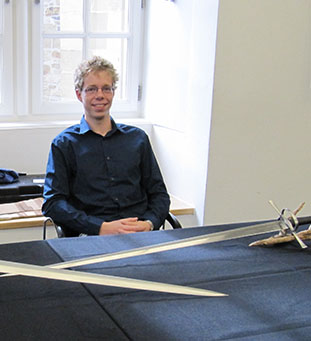
A sword enthusiast who never out grew his boyhood interest in swords, with the help of the SBG Sword Forum over the years Lukas Mästle-Goer has become a talented sword maker in his own right and now makes and modifies swords part time from his home workshop in Germany.
I hope this information on the distal taper stock removal process has been helpful. To return to Sword Making 101 from Distal Taper Stock Removal, click here
Buying Swords Online Can Be DANGEROUS!
Find the Best Swords in the:

Popular & Recommended ARTICLES


The ONLY true free online magazine for sword enthusiasts. Delivered once a month on the 1st day of the month, no filler and no BS, just the latest sword news & info delivered straight to your inbox.
VISIT OUR SPONSORS:


